Digital cameras offer superb image quality. However, having a digital camera does not mean you can start taking great photos straight away. There are quite a few skills you have to master before becoming a good photographer. Always remember that a camera is nothing, no matter how advanced it is, if the photographer doesn’t know how to use it properly. Therefore, we are going to discuss how to take good photos with a digital camera in this article.
Best Digital Photography Tips
These beyond basic tips will help you take stunning photos with your digital camera no matter you are an experienced or a novice photographer.
1. Use the Rule of Third
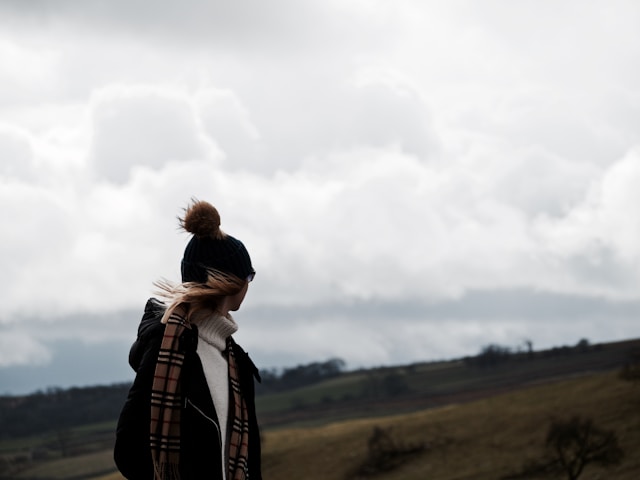
Using the Rule of Thirds seems a pretty basic tip. Right? However, many photographers fail to master this technique altogether. The rule of third is the most effective rule of composition. You must use it if you want to take your images to the next level.
Using the rule of third is not that difficult either. You just have to imagine two lines vertically and two lines horizontally across the image. These lines will also create 9 even squares. Now, experiment by placing the focal point on the intersection of different squares. Some photos only look good when the focal point is at the center square. But – the best way to create more aesthetically pleasing photos is to place the focal length at the junction of off-center squares.
You can make the viewer’s eyes see the entire image by using the rule of thirds. The image will be more stunning and pleasing to the eyes as well.
2. Avoid Camera Shakes at all Costs
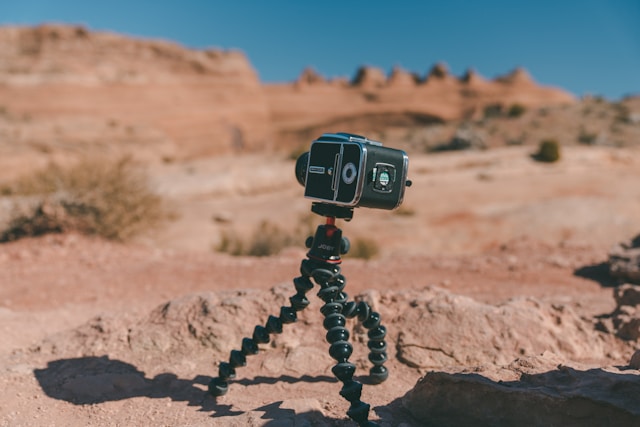
Taking pictures without a tripod is a recipe for disaster. Camera shakes or image blurs can ruin your photos but you can easily avoid them by using a tripod. A good tripod will keep your camera steady even in the worst of weather.
You also need to learn how to hold your camera correctly if you don’t always want to use a tripod. Place one hand around the lens and one around the body. Similarly, you can add more support by holding the camera close to your body.
You must also keep the focal length of your camera in the account for handheld shooting. It will enable you to select the appropriate shutter speed. The slightest movement will result in a blurry image if the shutter speed is too slow.
You can minimize this problem by choosing a shutter speed that is equal to or faster than your focal length. For example, if you are using a 35mm lens, your shutter speed should not be less than 1/35th of a second.
3. Use a Polarizing Filter
Good photography also requires the use of a polarizing filter. There are, in fact, many types of filters for your digital camera. However, you must go for a polarizing filter if you have to choose only one. Similarly, the circular filter is the best of all polarizing filters. Such filters allow you to use through the lens (TTL) metering such as auto exposure.
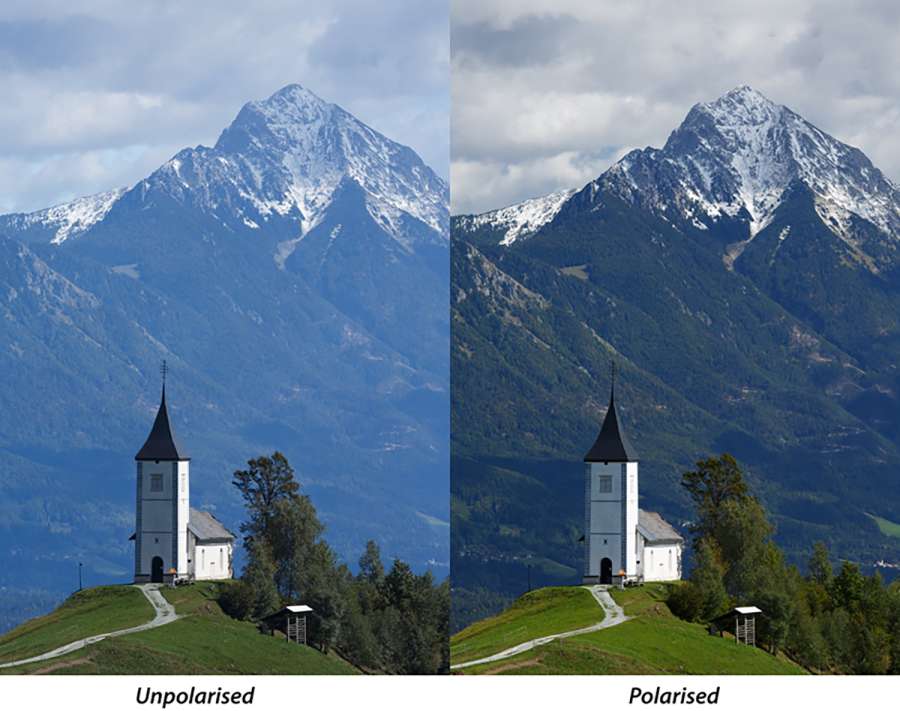
The polarizing filter also eliminates or minimizes the reflection from metal, glass, water, etc. It also improves the color of the foliage and the sky. Furthermore, it protects your lens besides adding a bit of character and drama to your images.
Another use of a polarizing filter is to reduce haze (fadiness) and improve contrast and clarity as shown in the image below.
4. Use Simple Backgrounds
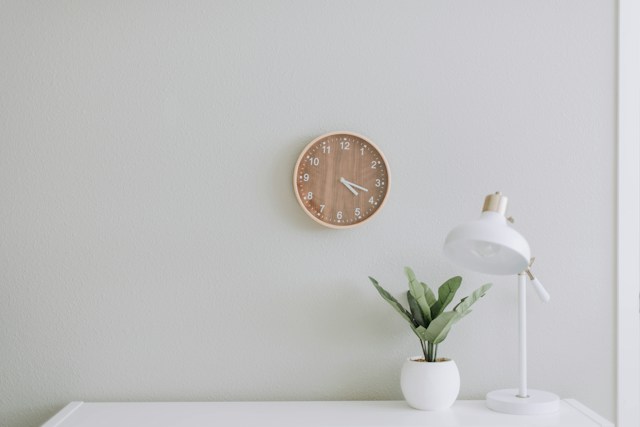
You must be wondering how to take better photos with simple backgrounds. It is the simplest but the best technique in digital photography. To keep the background simple, only keep necessary objects in the shot while doing away with all the distortions.
You must choose a plain background whenever possible. Try to include simple patterns and neutral colors in the background. Your goal should be to draw the eye to the main focal point of the image. An odd building or a bright patch of color will only serve as a distortion. You should especially implement this tip when the main focal point is placed off-center.
5. Choose the Right ISO
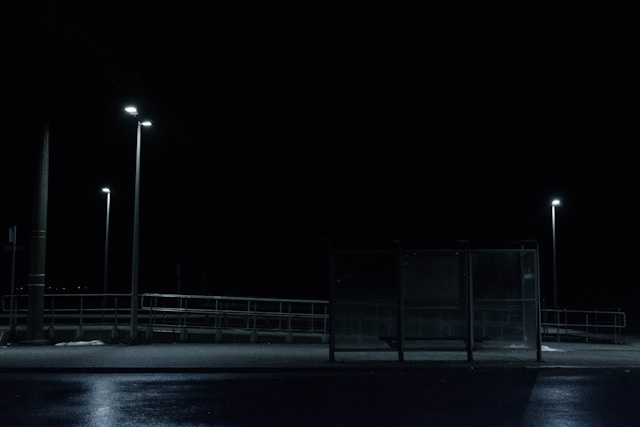
How much your camera is sensitive to light and how fine the image grains depends on your camera’s ISO settings.
It is the situation that determines which ISO to use. You need a higher ISO when you are shooting in the dark. The best ISO for low light is anything from 400-3200. Your camera becomes more sensitive to light at such a high ISO to avoid blurring.
A lower ISO of 100 or less will do fine on sunny days as there is more natural light at your disposal.
6. Don’t Use Flash Indoors
Flash can make indoor portraits look unnatural and particularly harsh. But how to take good pictures indoors without a flash?
The first thing you can do is to increase the ISO, especially 800 to 1600. It will also help you choose the right shutter speed according to the situation. The second thing is to attract more light to the sensor by using a very wide aperture. As a result, you will get a beautifully blurred background. However, you can avoid blurs by using image stabilization or a tripod.
Sometimes, it is mandatory to use the flash indoors. In this case, only use a flash with a rotatory head and direct the light to the ceiling at a certain angle.
7. Create a Sense of Depth

Creating a sense of depth will help you create spectacular landscape photographs.
Use a wide-angle lens for landscape photos. Similarly, you can keep the foreground and background sharp by using the aperture of f/16 or smaller. You can also include the sense of scale by putting a person in the foreground.
The pro tip here is to always use a tripod because you usually need slower shutter speeds for small apertures.
8. Master the Exposure Triangle
The three main components of digital photography are ISO, shutter speed, and aperture, commonly known as the Exposure Triangle. You have to master all of them to become a good photographer.
These three controls or settings are also interrelated. You would have to change at least one of these settings if you adjust one of the others. Otherwise, you won’t be able to get the desired results.
You can always use the Auto Mode. The drawback of Auto Mode, however, is that your images will not be according to your expectations. Sometimes, they would be disappointing.
It is also recommended to learn how to use Shutter Priority or Aperture Priority modes before switching to Manual mode.
9. Learn Manual Mode
Using priority modes can solve a lot of your problems. But – you would ultimately resort to Manual mode like all other good photographers. Manual mode works on the same principle as old SLR film cameras from the 1960s. Photographers had to learn manual mode because the cameras didn’t have buttons like priority modes.
Mastering Manual mode will help you fully understand your digital camera. Once you know how your camera works, you can use different photography techniques more easily and intuitively. Similarly, you would take better photographs without using priority modes as well.
10. Create Motion Using Pan
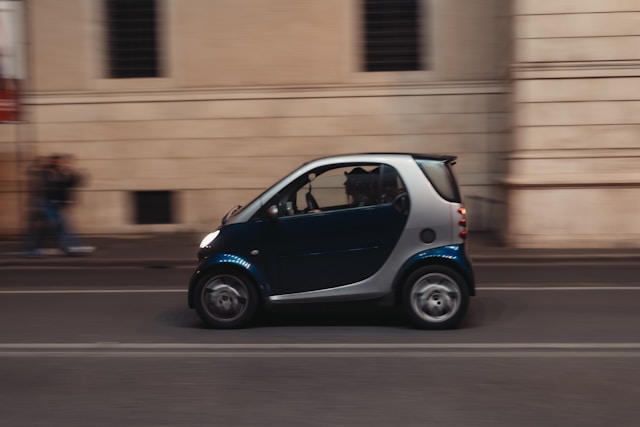
You must use the panning technique to catch something in motion. You can create motion using this technique by choosing a shutter speed that is two steps lower than required. Lock the focus by keeping your figure halfway down the shutter. Similarly, keep the camera on the object and take the photo when you are ready. However, never forget to follow the subject as it moves.
The best way to get clear movement lines is to use a monopod or tripod.
11. Experiment with Shutter Speed
You can include some interesting effects in your images by experimenting with the shutter speed. For example, set your shutter speed at 4 seconds and use a tripod while shooting in the dark. This will allow you to capture some light trails beside the movement of the object.
On the other hand, you can freeze the action by setting a shutter speed at 1/250th of a second. The light trails will not be as bright or long in this case as well.
The possibilities are endless here. You can use different shutter speeds while shooting objects in movements such as children playing in the park, people walking in the streets, or trees waving in the wind. You can create breathtaking snapshots that freeze the action or capture blurred movements as well.
Once again, it is necessary to use a tripod while using slower shutter speeds to avoid blurs.
Also Read: How to Shoot In Low Light: Best Tips and Guide
Frequently Asked Questions
How do I take high quality pictures with my camera?
To take high-quality pictures with your camera, ensure you understand its settings, such as ISO, aperture, and shutter speed. Use a tripod for stability, especially in low light, and focus on composition by following the rule of thirds. Lighting is key, so try to use natural light whenever possible or well-placed artificial sources.
How can I improve my digital photography?
Improving your digital photography involves practicing regularly to hone your skills and experimenting with different techniques and settings. Understanding the basics of composition, lighting, and color theory can significantly enhance your images. Also, editing your photos with software like Adobe Lightroom or Photoshop can help you correct issues and bring your artistic vision to life.
How can I be more photogenic on my camera?
To be more photogenic on camera, pay attention to your posture by standing up straight and relaxing your shoulders. Find your best angles by practicing in front of a mirror, and remember to smile naturally. Good lighting is crucial, so position yourself where the light is flattering, ideally facing a light source to avoid harsh shadows.
How do I look good in camera photos?
Looking good in camera photos often comes down to confidence and preparation. Wear clothes that you feel comfortable and confident in, and make sure your hair and makeup complement your features and the setting. Practice natural poses and expressions, and be mindful of the lighting and background. Remember, a genuine smile goes a long way in enhancing your appearance in photos.
Final thoughts
Now, you have learned how to take good photos with a digital camera. One final tip I would like to give is to spend more time on learning than spending money on gear. Even the most advanced digital camera is useless if you don’t know how to use it.
