
Lightning is perhaps one of the most spectacular natural phenomena. The magnificent lightning bolts splitting the night sky are a sight to behold. Therefore, capturing them in your camera will give you some of the most breathtaking photos you will ever take. But – how to photograph lightning and storm? We are going to explain everything in our comprehensive guide.
Nature photography is not easy and lightning photography is no exception. You have a split second to take that amazing shot. If you miss, which photographers often do, frustration is the only outcome.
You need not worry because you can succeed and get those incredible shots using the right techniques, a bit of creativity, and some strategic planning.
In this article, we are going to provide you with the best tips for capturing lightning on camera.
Lightning Photography Camera Gear
Before we go into details of lightning photography, we must discuss all the gear you need to take stunning lightning shots.
Camera
The first thing is of course the camera. Go for the camera with manual control for exposure settings. You can find both DSLRs and mirrorless cameras with these settings. You often need long exposures to capture lightning bolts which is only possible with long exposures. We will explain how to photograph lightning with digital SLR and mirrorless cameras in the coming paragraphs.
Lens
The best lens for lightning is a wide angle lens. Narrow focal lengths are perfect for capturing dramatic lightning landscapes and sprawling stormy skies.
However, some photographers also use telephoto lenses, especially if they are too far away from the action. They also come in handy if you want to capture a single lightning bolt in a close-up.
Tripod
A steady tripod is essential because shaky photographs are just useless. Tripods not only eliminate camera shakes but also ensure you take sharp long exposure shots. Similarly, you can wait for the perfect moment without getting tired.
You can also use a wireless remote or a cable release. You do not have to touch and shake the camera while triggering the shutter.
Remote Shutter Release
Just like a cable release, it enables you to take photos without pressing the camera shutter physically. It increases your chances of timing the lightning strikes perfectly while reducing camera shakes as well.
Automatic Lightning Trigger
It detects the lightning strike and automatically triggers the shutter. You don’t have to constantly click manually or guess anything. The photos are also sharp and precise.
A lightning trigger is a small device that keeps on looking for lightning bolts. It automatically triggers the camera shutter whenever it detects a rapid and sudden increase in brightness when a lightning bolt strikes.
These devices can take countless shots within minutes. Therefore, you have greater odds of capturing the perfectly timed pictures of the lightning bolts on a stormy night.
You no longer have to guess and worry about timing the shots. Therefore, you can focus more on composition.
Rain Protection
Of course, you have to protect your gear from the elements as well. You must go for weather-sealed cameras or lenses. However, they can be expensive and unaffordable for some. In this case, a simple raincoat will do the job just fine, especially during heavy rain.
Now that we have all the essential equipment, it is time to talk about capturing those sensational moments nature bestows us with during a storm.
How to Locate the Perfect Storm for Lightning Photography?
Getting Started with Lightning Photography requires you to locate the perfect storm. It is necessary if you want your photos to have that wow factor.
You must always take the help of meteorology to predict when the next storm and thus lightning will occur. Always keep an eye on your area’s weather forecast. Continuously monitor the weather radar and look for thunderstorm predictions.
Best Apps to Predict and Track Lightning Storms

You can predict storms and find real-time lightning maps using several apps and websites. They help you track the intensity and path of the storm.
When it comes to photographing lightning storms, you must know when and where they will occur. The following are the best apps to track storms in your area.
Weather Underground
Weather Underground helps you track storms through satellite maps, interactive radars, and severe weather alerts. You can find any information about the upcoming stars on this platform.
AccuWeather
AccuWeatheris one of the most popular weather apps at the moment. You can get minute-by-minute weather updates using this app. Similarly, you can also specify your location and you will receive alerts whenever a storm is approaching you. You can also track the path of the storm using the radar maps.
MyRadar Weather Radar
MyRadar Weather Radar is also a great app to predict storms and track their paths. With animated weather radars, it provides information about the weather in your current location. As a result, you can see whether or not a storm is approaching you.
Storm Radar
While other apps display information about general weather, this app specializes in tracking storms. You can even anticipate which area will have severe weather through the “Future Radar” feature. Therefore, you can always remain prepared.
Lightning Maps
Just like Storm Radar which specializes in storms, Lightning Maps specializes in lightning. It provides real-time data about lightning strikes across the globe. However, it has some other features as well.
Timing is Important
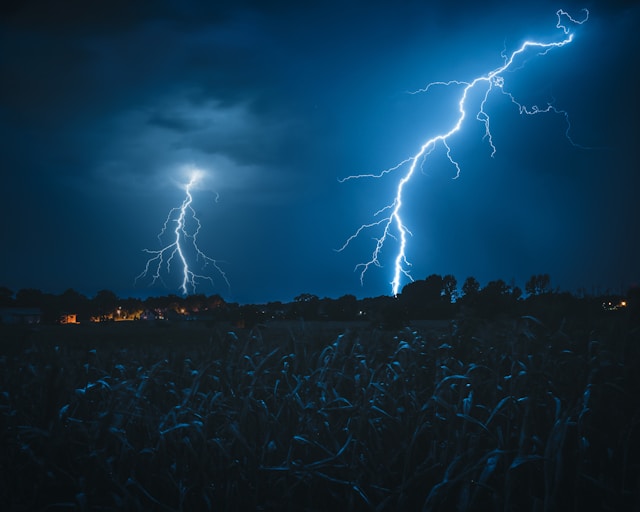
Now, you know how to predict lightning storms. But – what time of the day is the best for lightning photography? Storms occurring at dusk or dawn usually provide the most spectacular lightning shots to capture.
The contrast between the diminishing and approaching daylight and dark clouds becomes an exquisite backdrop for your images.
How to Choose the Ideal Location?
Finally, you need to choose a great location to photograph the storm. Your location should provide a clear and unobstructed view of the sky. The vantage point could be a roof of a building or a high point in an open ground. However, you should never forget about safety while choosing a location. Never position yourself near power lines or metal fences for example.
Photographing Lightning Safely
Lightning is a dangerous natural phenomenon and you should take every care while photographing it. In fact, safety is the most important aspect to consider here.
First of all, you should not try to test the power of Nature or invite its wrath. You must take all kinds of safety precautions because lightning can be fatal.
Here is how to photograph lightning strikes safely.
Always Maintain a Safe Distance
It can be extremely dangerous to get too close to the lightning or the storm. You should ideally be at least 5-8 kilometers away from the storm. Try your best to maintain a safe distance.
Stay away from Water
Lightning commonly strikes water bodies such as lakes, rivers, ponds, and even swimming pools. Therefore, keep clear of such places at any cost.
Avoid Tall Structures
Standing near tall structures such as poles, trees, and towers is simply asking for trouble. These structures are the easy target of lightning and you must avoid them.
Keep an Eye on the Storm
You should only photograph light to moderate storms. Closely monitor the storm and continuously observe its intensity and movements. Pack up immediately and leave if the storm is picking up strength.
Find a Shelter
Standing in open and expansive fields is not recommended even if it provides a clear shot of the storm. Similarly, trees are also not the best shelters because lightning can strike them easily. Always stay in a building or your car while you photograph the storm.
Use a Remote Shutter Release or Lightning Trigger
Remote shutter release or lightning trigger enables you to trigger the shutter even if you are away from the camera. You can set up your camera and move away. As a result, you reduce your chances of getting hurt.
Always have an Exit Plan
Lightning storms move at an enormous speed and can catch you in no time. Therefore, you must always have an exit plan with a specified escape route if that does happen. You must always think about your safety. There will be many chances to take that shot in the future.
You should never risk your life for a photograph. Safety should be your main concern while photographing thunderstorms and lightning.
Best Camera Settings for Lightning Shots
What camera settings you should use for lightning? Lightning and thunderstorms are a marvelous natural phenomena. Therefore, you must shift to manual mode and take control of your camera to capture them in their full glory.
Some photographers, usually beginners, are reluctant to use manual mode. However, it is easier to use than you think. You just have to experiment with shutter speed, aperture, and ISO until you get the best combination for your shots.
Shutter Speed
Going for long exposures will help you get the best shots of the storm. Therefore, the ideal shutter speed for lightning is 15-30 seconds. However, you can also test longer or shorter shutter speeds. A long exposure gives your camera enough time to capture lightning bolts. It is also great for taking multiple shots.
Keep in mind that long exposures allow more light to enter the lens. Therefore, a properly exposed image is only possible if you make the necessary aperture adjustments. Keep making adjustments as you take shots until you get the perfect picture.
Aperture
Two factors determine the aperture setting. These are the ambient light and lightning intensity. Generally, you should aim for apertures between f/5.6 and f/9 to start with.
Such an aperture setting does not overexpose the image to light but allows enough light into the camera for you to have a perfect shot.
However, apertures as low as f/2.8 can help you create a dreamy look. Similarly, it can also come to your rescue in case of low natural light.
Just like shutter speed, continue experimenting and you will find the best combination eventually.
ISO
You must start with Low ISO ranging from 100 to 200. Higher ISOs can result in noise in your images. Low ISO, on the other hand, keeps your image sharp and clean.
Manual Focus
As mentioned above, you must resort to manual focus if you want to take sharp and clear images of lightning strikes.
You can clearly focus everything you want in your image by setting manual focus to infinity. It will include nearby as well as distant objects such as the lightning itself. Therefore, you can clearly photograph each lightning bolt with beautiful details. As a result, your images will capture the raw power of the storm and all its electrifying beauty.
RAW Format
Shooting in RAW format means you will have more flexibility at the time of editing. You capture all the details in the RAW format without making any edits in the camera. The RAW format provides all the data of the image without deleting anything.
RAW data makes it a delight when it comes to color tweaking, exposure adjustment, and recovering the details. On top of that, you do not lose any image quality while making these adjustments.
Pro Tip: Use the Bulb Mode
One of the best camera modes to photograph lightning is the bulb mode. It offers complete control over exposure length by keeping the shutter open for a long time.
Also, use a remote shutter release to open and close the shutter while using the bulb mode. The sensor collects the light when the shutter is open. Therefore, bulb mode is ideal for night photography, low light photography, and lightning photography.
Sometimes, long exposures can result in overexposure which you can avoid by using a natural density filter.
Lightning Photography Composition Ideas
You have learned the technical aspects of lightning photography. But – it is only half the work done. Your compositions also have to be compelling to create the perfect shot. Only then you will be able to attract more viewers to the fascinating show that is a lightning storm.
The following are some of the best composition tips for better lightning photos.
Rule of Thirds
Always remember the rule of thirds while composing your images. I assume you already know what the rule of the third is. However, here is a brief summary. You imaginarily divide your scene into nine equal parts using two equally spaced horizontal lines and two equally spaced vertical lines.
Now, place the lightning strikes or the important parts of the image on the intersection of these lines or along them. This is one of the best lightning photography techniques to balance your image and draw viewers’ attention to lightning.
Having the lightning bolt in one-third of the frame will truly make your photo mesmerizing.
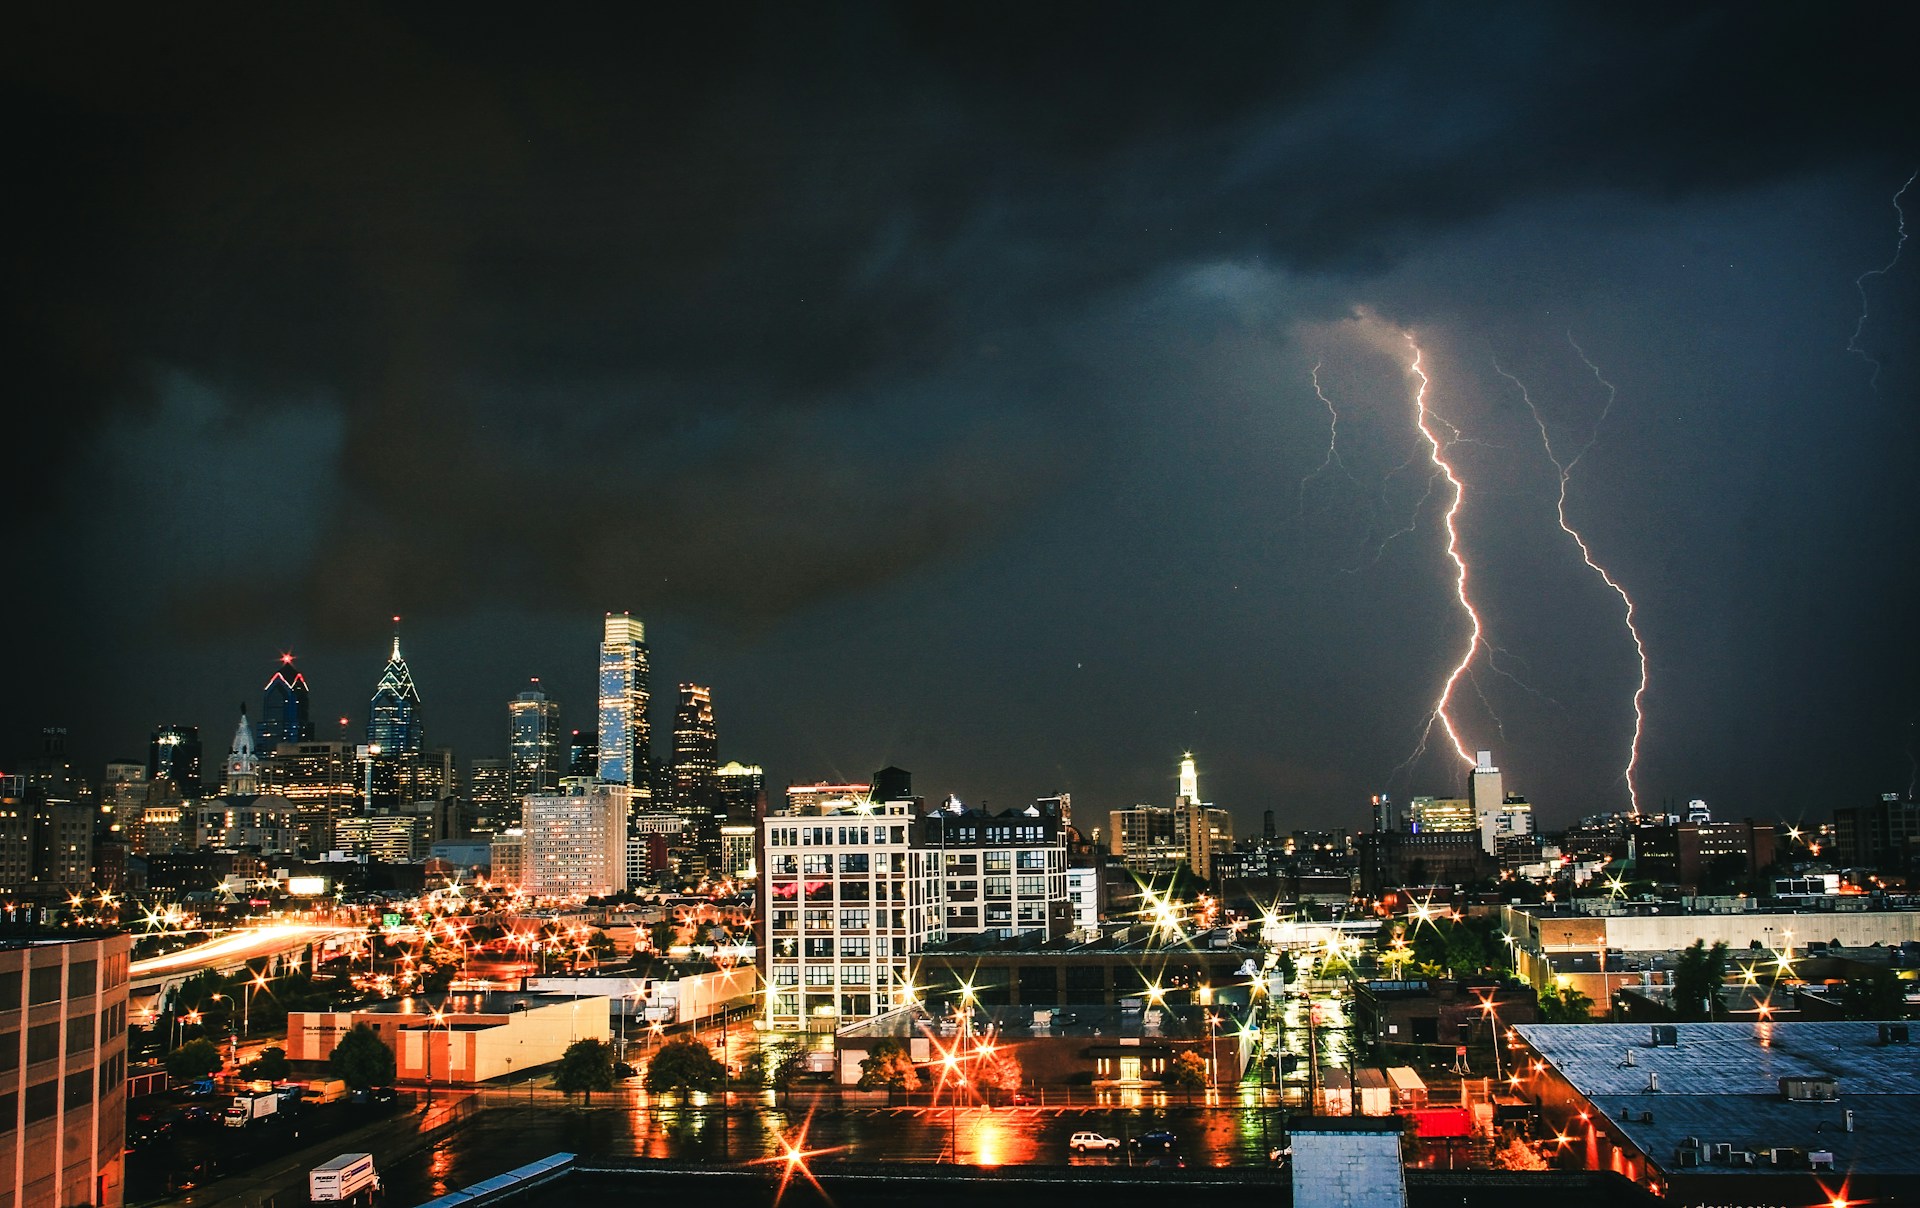
Consider Your Surroundings
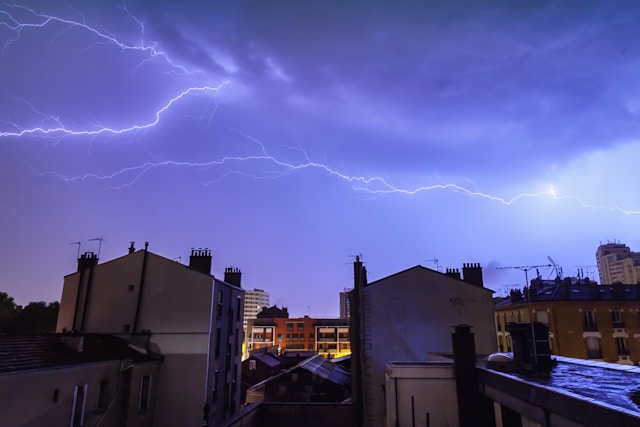
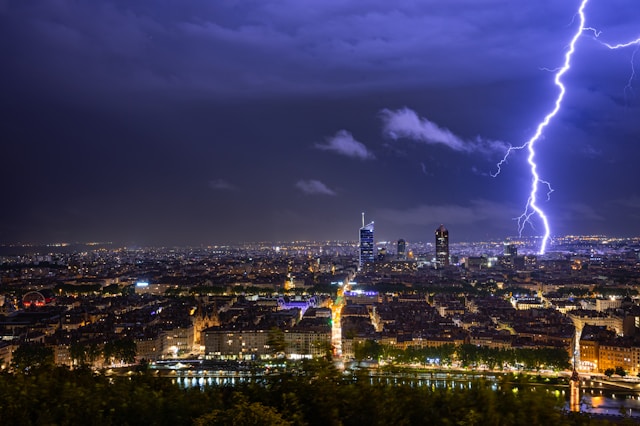
Most people commit the mistake of focusing only on the sky during lightning photography. You should never do that. You can create a vivid atmosphere in your images by focusing on your surroundings. It will provide a dramatic background for the storm as well. You can add interest and context to your images by including the city skyline, a lonely pole or a tree, or a weather-beaten building.
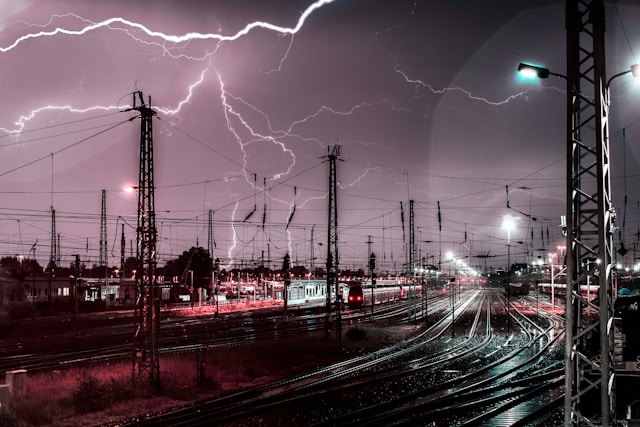
Go for Leading Lines

One of the most interesting and powerful compositional tools is leading lines. It can guide the eyes of your viewers to exactly where you want them. Things like railroads, roads, rivers, fences, etc. can lead the gaze to the captivating drama of lightning.
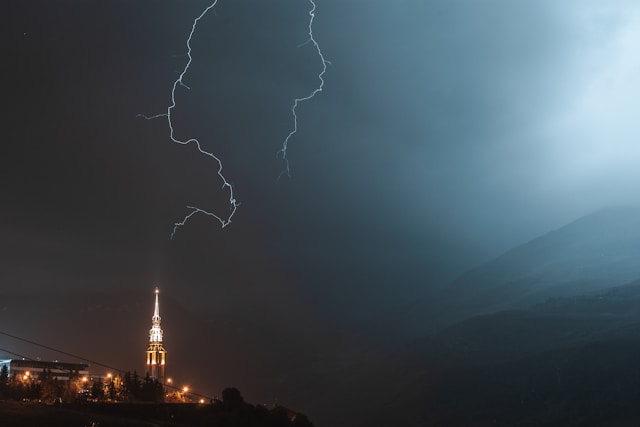
Use Negative Space
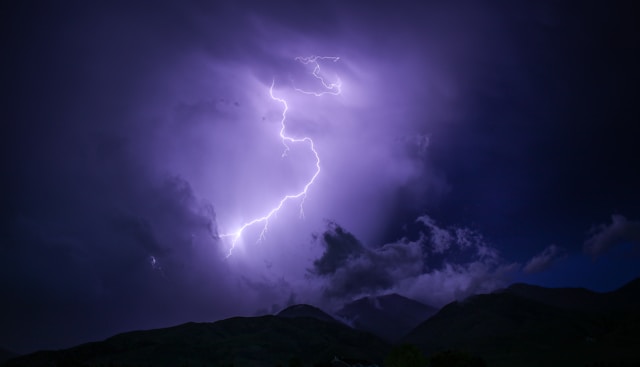
Most photographers fill their frames with all sorts of things. However, less can be more on some occasions. You can beautifully highlight lightning and accentuate its isolation and splendor by using negative space. It means leaving a lot of space around the lightning. Focusing solely on lightning by keeping your image simple will result in some of the best storm shots you will ever take.
Add Drama through Depth
While a simple image is always beautiful, you can also add some drama by adding depth to the image. This involves including objects from the background, the middle ground, and the foreground or at different distances from the camera.
These images have a three-dimensional look and can easily attract your viewers.
We have just scratched the surface with these composition tips. You should continue experimenting and exploring new avenues because lightning and thunderstorms always have something new to offer.
Also Read: 10 Bold And Bright Color Blocking Photography Ideas
Frequently Asked Questions
How do you take good pictures of lightning?
First of all, set up your camera on a tripod. It is better if you use a remote shutter release or a lightning trigger. Set your camera to manual focus and then to infinity. Use medium aperture values such as from f/5.6 to f/9. Use a low ISO setting from 100-200 and longer shutter speeds from 15-30 seconds. Shift to the light bulb mode for better images and always shoot in RAW format.
What shutter speed to use for lightning?
Most photographers use shutter speeds from 3-8 seconds for lightning shots. However, you should experiment with longer exposures with shutter speeds of 15-30 seconds. It not only captures everything in the scene but can take multiple images of the lightning as well.
What is the best camera for lightning?
You must always use a DSLR or mirrorless camera for taking lightning photographs. However, your camera should have manual mode and the ability to adjust aperture, ISO, and shutter speeds. Similarly, it should be able to shoot in RAW mode besides JPEG and other formats.
How to photograph lightning with a phone?
You can also take excellent lightning photos with your phone. Before taking a shot, wait for at least half of the lightning bolt to split or strike the sky. Now, press your shutter and wait for at least 15-30 seconds for longer exposure. And boom! You have a fantastic lightning picture.
What lens for shooting lightning?
A prime lens is the ideal choice when it comes to shooting lightning. You can fill the frame while capturing lightning if you use a 30mm and 50mm lens for APS-C and full-frame sensors respectively.
A wide-angle lens, on the other hand, will enable you to capture dramatic lightning landscapes and expansive skies.
Final Thoughts
With this, we conclude our guide on how to photograph lightning. Hopefully, it will equip you with all the skills and techniques to masterfully and beautifully capture the lightning bolts slicing the sky. However, you should never ignore your safety while chasing the storm and always take necessary safety precautions.