
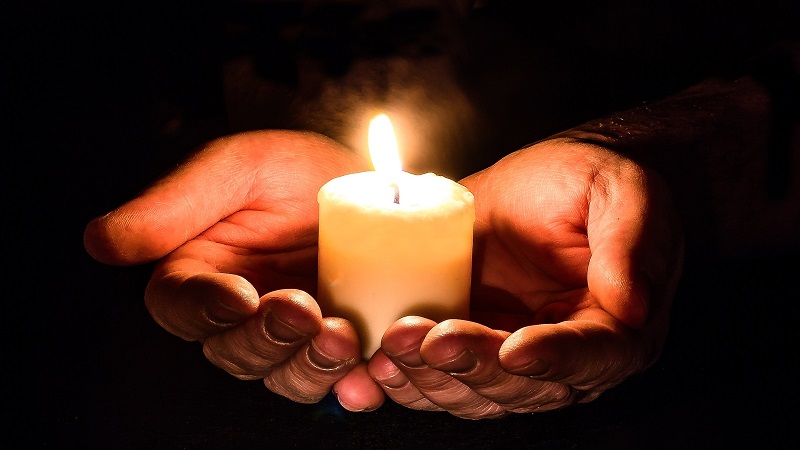
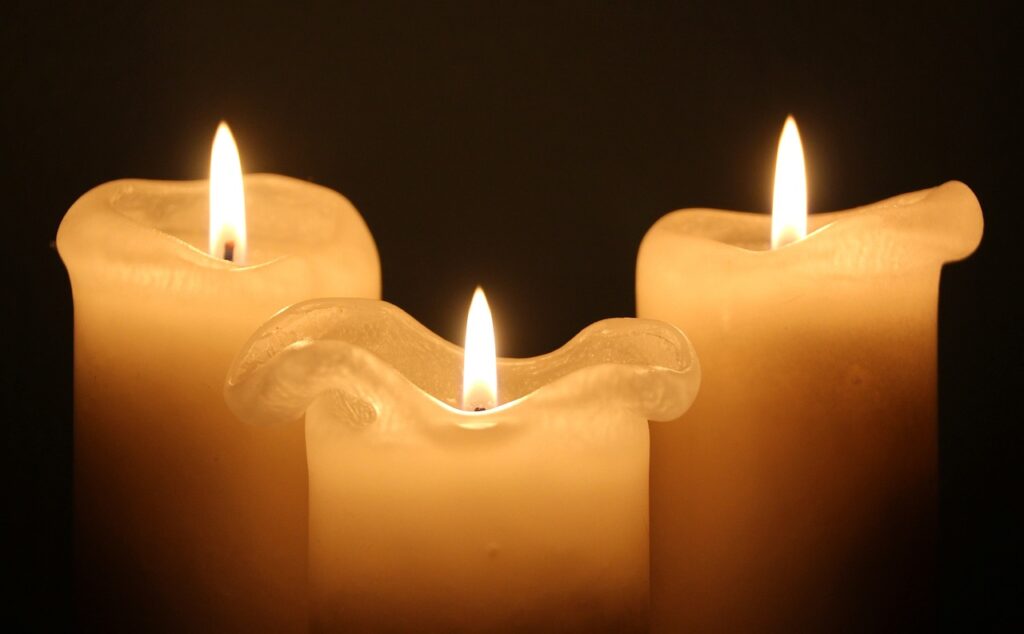
Candlelight photography captures the warm, intimate glow of candles, creating beautiful and moody images. Mastering this technique involves understanding specific camera settings, techniques, and tricks to enhance your photos’ ambiance and artistic quality. This article provides the best tips for candlelight photography to help you excel in candlelight photography, covering essential aspects like camera settings, composition, and creative ideas.
Essential Tips for Candlelight Photography
1. Use a Tripod
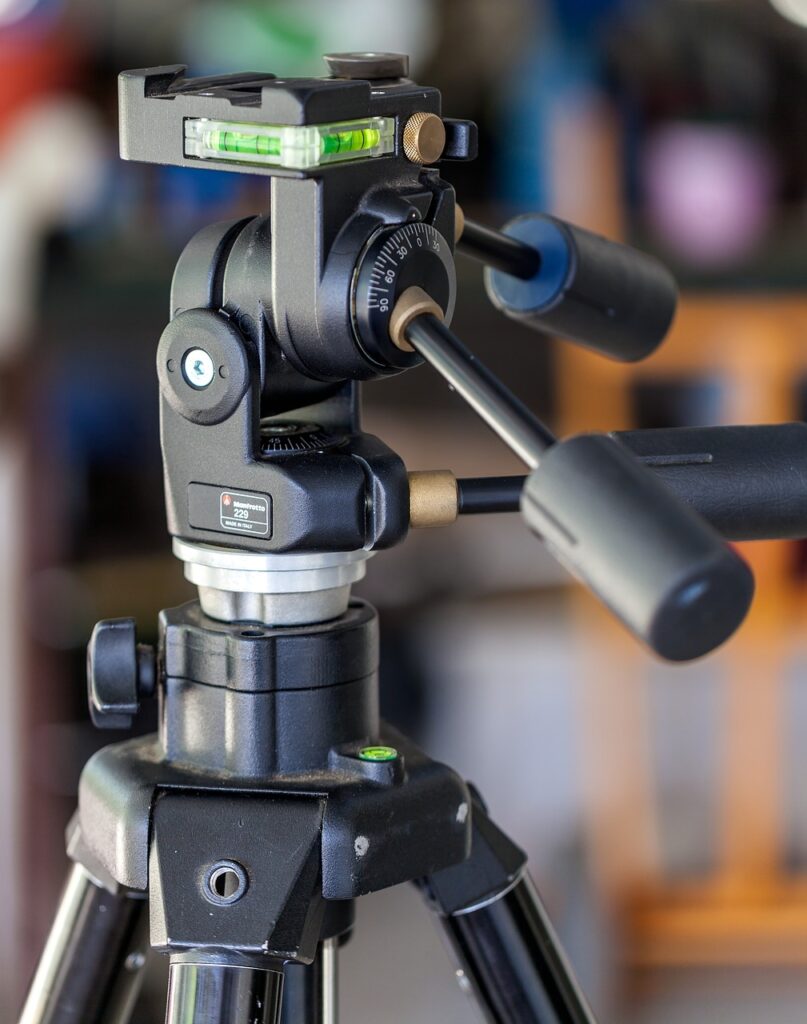
A tripod is an integral part of a candlelight photography setup. Stability is crucial in candlelight photography due to low light conditions. A tripod prevents camera shake and ensures sharp images, which is especially important for low-light photography with candles. When shooting candlelight portrait photography, a stable setup allows you to focus on composition and capturing the ambiance in candlelight without worrying about blurry images. Tripods also enable longer exposure times, which can help capture more light and details in dim settings.
If you don’t have a tripod, you can improvise using a stable surface like a table or a stack of books to support your camera. Additionally, a remote shutter release or the camera’s timer function can reduce vibrations and ensure sharper photos. This setup is essential for mastering candlelight photography, as even the slightest movement can cause blurriness in low-light conditions.
2. Adjust Your White Balance
To capture the true colors of candlelight, adjusting your white balance is crucial. Candlelight has a warm, yellow-orange hue, and using the wrong white balance setting can result in unnatural color casts. Setting a custom white balance or using the tungsten preset can help achieve accurate color reproduction. This adjustment enhances the mood with candlelight in photography, making your images look more natural and pleasing.
During post-processing, you can fine-tune the white balance to perfect the image. Tools like Lightroom and Photoshop offer precise white balance adjustments, allowing you to enhance the candlelight’s warm glow without introducing unwanted color shifts. Understanding and controlling white balance is a key candlelight photography technique that can significantly improve the quality of your images.
3. Opt for Large Apertures
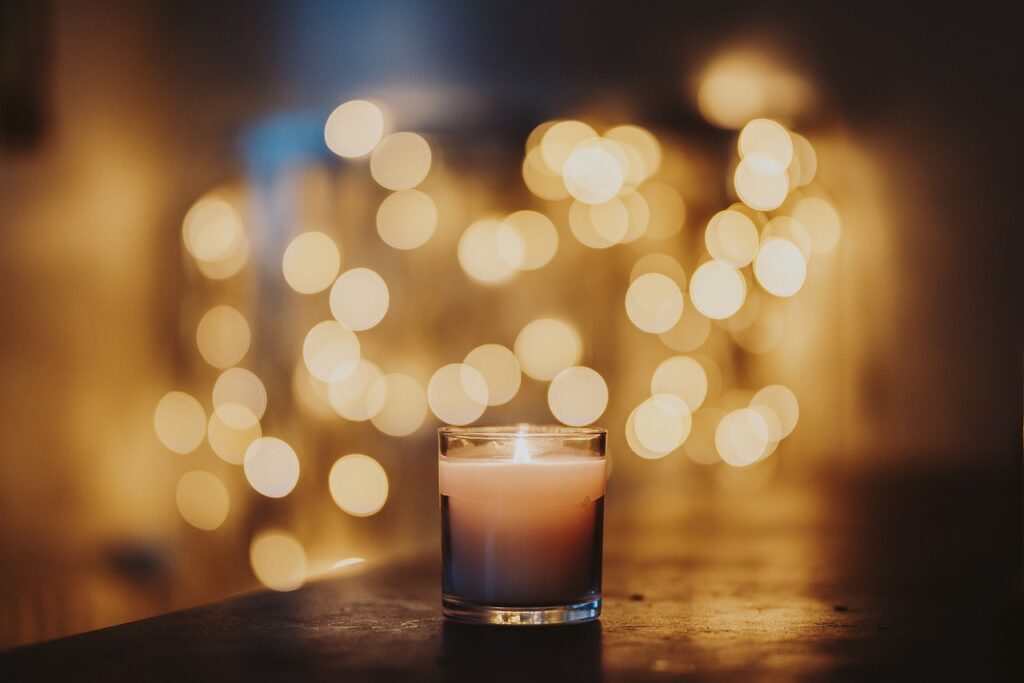
Using a large aperture (e.g., f/1.4, f/1.8) allows more light to enter the camera, which is essential for low-light photography with candles. Large apertures create a shallow depth of field, making the candle’s glow the focal point while softly blurring the background. This effect can add a dreamy, artistic quality to your photos and is a popular choice for candlelight portrait photography.
Choosing fast lenses with wide maximum apertures can greatly improve your performance in dim lighting. These lenses enable you to capture well-exposed images without needing to raise the ISO too high, which can introduce noise. Experimenting with different aperture settings is one of the creative candlelight photography ideas that can help you achieve various artistic effects.
4. Increase ISO Sensitivity
Raising your ISO sensitivity allows your camera to capture more light, which is vital in candlelight photography. However, higher ISO settings can introduce noise, which can degrade the quality of your images. Finding the right balance between ISO, aperture, and shutter speed is crucial. Start with a lower ISO and gradually increase it until you achieve the desired exposure without excessive noise.
Modern cameras handle high ISO settings better than older models, but noise reduction techniques can help if noise becomes an issue. In-camera noise reduction settings and post-processing tools like Lightroom can significantly reduce noise while preserving details. This approach is essential for capturing ambiance in candlelight and achieving high-quality images in low-light conditions.
5. Experiment with Shutter Speed
Shutter speed plays a critical role in determining the exposure and sharpness of your candlelight photos. Using slower shutter speeds allows more light to reach the camera sensor, which is beneficial in low-light conditions. However, slow shutter speeds also increase the risk of camera shake, making a tripod essential. Start with a shutter speed of around 1/60th of a second and adjust based on your specific lighting conditions.
Slower shutter speeds can create interesting effects, such as capturing the flickering motion of the candle flame or the ray of light in photo settings. Experimenting with different shutter speeds can lead to creative candlelight photography ideas, allowing you to explore various artistic effects. Combining slow shutter speeds with a stable setup can help you master candlelight photography and produce stunning images.
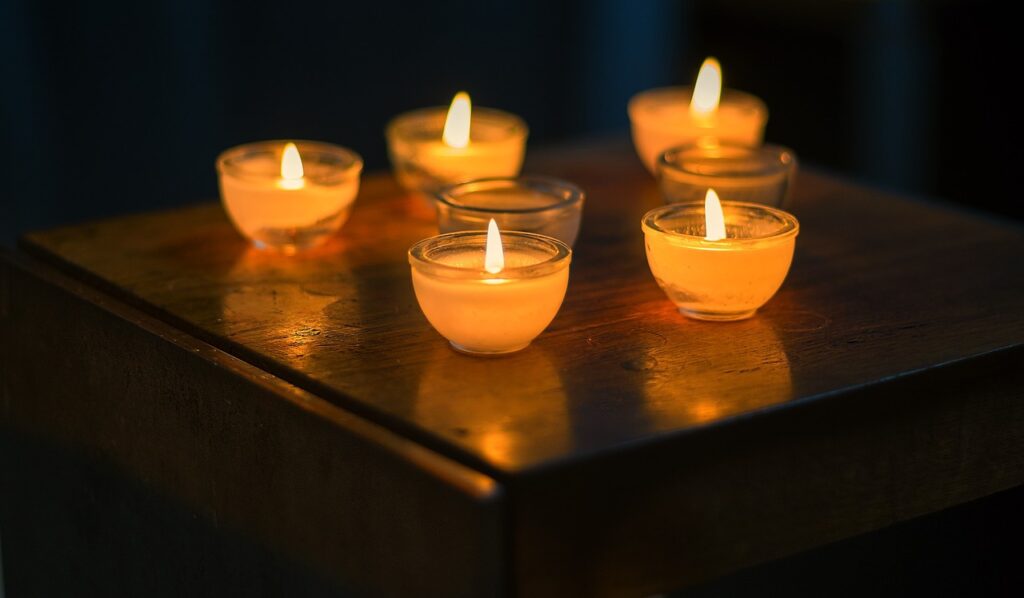
6. Add More Light

While candlelight provides a beautiful, warm glow, adding supplementary light sources can enhance your photos. Using additional candles can increase illumination and create more balanced lighting. Positioning candles strategically around your subject can help achieve a more even light distribution and reduce harsh shadows. Reflectors and diffusers can also bounce and soften the light, making it more flattering.
Incorporating small LED lights or fairy lights can add creative touches to your composition. These light sources can highlight specific areas of your scene or add a magical element to your photos. Understanding how to add and control light is a key candlelight photography trick that can elevate your images and provide more flexibility in your creative process.
7. Use Manual Focus
Achieving sharp focus in low light can be challenging, as autofocus systems may struggle to lock onto your subject. Switching to manual focus allows you to have precise control over your focus point, ensuring that your subject is sharp. Using live view and magnifying the image can help you fine-tune your focus, especially when photographing small details like the candle flame.
Manual focus is particularly useful in artistic candlelight photography, where you may want to focus on specific elements within the scene. Practicing manual focus techniques is one of the essential candlelight photography hacks that can improve your overall photography skills and help you capture sharper, more detailed images.
8. Bracket Your Exposures
Exposure bracketing involves taking multiple shots at different exposure levels to ensure you capture the best possible image. This technique is particularly useful in candlelight photography, where achieving the perfect exposure can be tricky. By taking a series of shots at different exposures, you can choose the best one or combine them in post-processing to create a well-balanced image.
HDR (High Dynamic Range) techniques can also be applied to candlelight photography. By combining multiple exposures, you can capture a wider range of light and shadow details, resulting in a more dynamic and visually appealing image. Bracketing and HDR are advanced candlelight photography techniques that can help you master exposure and create stunning photos.
9. Utilize Reflective Surfaces
Reflective surfaces like mirrors or metal objects are a big part of candlelight photography camera settings. They can enhance light distribution and create interesting effects in your photos. Placing a mirror behind your candles can bounce light back into the scene, increasing the overall illumination and adding depth. Reflective surfaces can also create unique reflections and patterns, adding an artistic element to your composition.
Experimenting with different reflective surfaces is one of the creative candlelight photography ideas that can lead to unexpected and beautiful results. Understanding how to use reflections and light bounce effectively can help you capture more dynamic and visually engaging images, making your candlelight photography stand out.
10. Control the Light Source
Manipulating candle placement and choosing the right size and type of candles can have a significant impact on your photos. Positioning candles at different heights and angles can create varied lighting effects and add depth to your composition. Experimenting with different candle types, such as tea lights, pillar candles, or candelabras, can also change the overall mood and appearance of your photos.
Using extra candles to increase light levels can help achieve better exposure without raising ISO settings too high. This approach allows you to maintain image quality while capturing more details. Controlling your light source effectively is essential for mastering candlelight photography and achieving professional-looking results.
11. Experiment with Different Angles
Experiment with angles if you are looking for more candlelight photography effects. Changing your camera angle can drastically alter the appearance and mood of your candlelight photos. Shooting from a low angle can make the candles appear larger and more dramatic, while a high angle can create a softer, more intimate feel. Trying various angles helps you understand how light and shadows interact with your subject, leading to more dynamic and interesting compositions.
Experimenting with angles is a key part of creative candlelight photography. By moving around your subject and exploring different perspectives, you can discover new ways to capture the ambiance and beauty of candlelight. This approach encourages creativity and helps you develop a unique photographic style.
12. Use Backgrounds and Props

Incorporating backgrounds and props can add context and depth to your candlelight photos. Choosing backgrounds that complement the warm glow of candlelight, such as rustic wood, fabric, or textured walls, can enhance the overall mood. Props like books, flowers, or vintage objects can tell a story and make your photos more engaging.
Using backgrounds and props effectively is one of the candlelight photography tricks that can elevate your images. By thoughtfully selecting and arranging elements in your scene, you can create more visually appealing and meaningful compositions. This approach helps capture the essence of candlelight photography and enhances the artistic quality of your work.
13. Turn Off Flash
Using flash in candlelight photography can ruin the ambiance and create harsh, unflattering light. Flash often overpowers the delicate glow of candles, resulting in a flat and unnatural look. Instead, rely on the ambient candlelight and supplementary light sources to illuminate your scene. This approach preserves the warm, intimate atmosphere that candlelight creates.
If you need additional light, consider using continuous light sources like LED panels or softboxes, which can be adjusted to match the candlelight’s color temperature. Understanding how to light your scene without flash is a crucial candlelight photography technique that helps maintain the mood and quality of your images.
14. Context and Backgrounds
Setting the right context and backgrounds is vital for enhancing your candlelight photos. The background should complement the subject and add to the overall narrative of the image. For instance, a dark, textured background can make the candlelight stand out, while a simple, clean background can draw attention to the subject.
Creating a story with your background helps in capturing the essence of artistic candlelight photography. Whether you’re photographing a romantic dinner setup or a cozy reading nook, the background should add depth and context to the image. Thoughtful background selection is a key candlelight photography trick that can make your photos more compelling and visually appealing.
15. Use Extra Candles
Adding more candles can significantly improve the lighting in your photos. Extra candles increase the overall light levels, allowing for better exposure without needing to raise the ISO too high. This technique helps in achieving a balanced light distribution and reduces harsh shadows.
Creative placement of extra candles can enhance the mood and composition of your photos. Experiment with different arrangements, such as clustering candles together or spreading them out across the scene, to see how it affects the lighting and ambiance. Using extra candles effectively is a valuable candlelight photography hack that can improve the quality and mood of your images.
16. Use Fast Lenses
Fast lenses with wide maximum apertures (e.g., f/1.4, f/1.8) are ideal for candlelight photography. These lenses allow more light to enter the camera, making it easier to capture well-exposed images in low-light conditions. Fast lenses also create a shallow depth of field, which can beautifully isolate the subject and create a pleasing background blur.
Choosing the right fast lens can significantly impact the quality of your candlelight photos. Prime lenses, which have fixed focal lengths, often offer wider apertures and better performance in low light compared to zoom lenses. Investing in a good fast lens is essential for mastering candlelight photography and achieving professional-looking results.
17. Use Zoom and Aperture Effectively
Understanding how to use zoom and aperture effectively can enhance your candlelight photography. Zooming in allows you to frame your subject more closely and isolate specific details, such as the candle flame or facial expressions in a portrait. Using the zoom function creatively can help you achieve different compositions and perspectives.
Balancing aperture and zoom is crucial for controlling depth of field and light intake. A large aperture lets in more light, which is beneficial in low-light settings while zooming in can create a more intimate feel. Experimenting with different combinations of zoom and aperture settings is a useful candlelight photography technique that can lead to various artistic effects and improve your overall photography skills.
Post-Processing Tips
18. Noise Reduction
High ISO settings can introduce noise in your candlelight photos, especially in darker areas. Noise reduction techniques can help mitigate this issue and enhance the overall image quality. During post-processing, use noise reduction tools in software like Lightroom or Photoshop to clean up high ISO shots.
Balancing detail and smoothness is key when applying noise reduction. Overdoing it can make the image look soft and unnatural. Aim to find the right amount of noise reduction that maintains details while minimizing noise. This approach is essential for capturing ambiance in candlelight and achieving high-quality images.
19. Adjust Exposure and Contrast
Fine-tuning exposure and contrast during post-processing can bring out details and enhance the mood of your candlelight photos. Adjust the exposure to ensure the image is well-lit without overexposing the highlights. Increasing contrast can add depth and dimension, making the image more dynamic.
Balancing shadows and highlights is crucial for a well-rounded image. Use tools like curves or levels to adjust these elements and create a more visually appealing photo. Mastering these adjustments is a key candlelight photography trick that can significantly improve the quality and impact of your images.
20. Correct White Balance
Ensuring accurate colors is vital for capturing the true essence of candlelight. During post-processing, fine-tune the white balance to achieve the desired color temperature. This adjustment can enhance the warm, inviting glow of candlelight and make your photos look more natural.
Creative color adjustments can also be applied to enhance mood and atmosphere. Using color grading techniques, you can emphasize the warm tones or add a slight tint to create a specific feel. Correcting white balance and applying creative adjustments are essential candlelight photography techniques that can elevate your images to the next level.
Final Thoughts
Candlelight photography requires a blend of technical skills and creative vision. By following the best tips for candlelight photography, you can enhance your ability to capture stunning candlelight photos. Experiment with different techniques, practice regularly and don’t be afraid to try new ideas. Share your candlelight photos and experiences to inspire and learn from others in the photography community. Happy shooting!