

The room you are photographing in has a massive impact on your photographs. Variables may appear like shadows, light, and reflections. So, the proper knowledge of camera settings for indoor photography will greatly determine the outcome of your photograph.
When you’re shooting indoors with your Canon camera or lens, it’s worth taking a moment to check out your camera settings. But do you have ideas on how to fix the settings of your Canon camera for indoor use?
Well, you do not have to worry because I will explain the ins and outs of your camera settings today. So, keep on reading to know the details.
Best Camera Settings to Use for Indoor Photography
Indoor photography is a great way to capture beautiful images without worrying about harsh sunlight or windy weather conditions. The key to capturing various photos is using the correct exposure settings.
When taking indoor shots, the first thing you need to do is make sure that you have enough light. If there isn’t enough light, you’ll end up with blurry images. You have to adjust the ISO, shutter speed, aperture, and white balance to get the perfect shot.
These camera settings for indoor photography control the amount of light entering the lens. It also allows you to take pictures even in low-light situations. The next step is to determine what type of lighting you will use. There are two main types of lighting: natural light and artificial light. Natural light provides softer shadows than artificial light but has some limitations.
Artificial light works better indoors because it provides more control over the direction of light. It enables you to create soft shadows while shooting in manual mode with nice highlights. Indoor photography settings also depend on your Canon camera controls.
1. Lenses for Indoor- Prime vs zoom
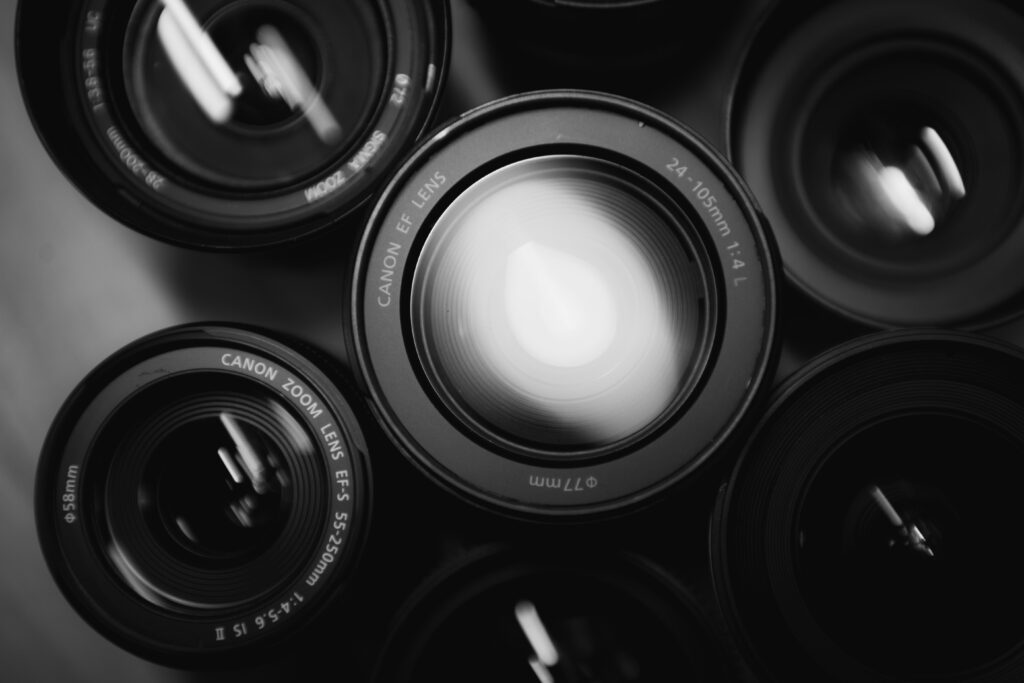
Different lenses have different effects based on the light inside and outside. Both the prime and the zoom lenses can act as the best Canon lens for indoor photography. Prime lenses focus light onto the eye’s retina while zoom lenses bend or refract it so that light can enter through the lens’s pupil.
A. Prime Lenses
Prime lenses have a fixed focal length that you can’t change. How you are taking photos defines the cost of your prime lens.
Now a question arises in your mind why would someone go with a prime lens instead of a zoom lens? Well, people choose prime lenses to maintain the quality of the photographs.
When using prime lenses, you receive what you see. A zoom lens will have considerable distortion at its widest end, while a prime lens will not. It means your images will be clear and crisp every time unless you’ve messed with your Canon camera settings.
B. Zoom Lenses
A zoom lens is a versatile camera lens that allows the photographer to adjust the focal lens length for different distances. The photographers can capture images from close-ups, portraits, mid-distance scenes, and wide panoramic vistas.
Zoom lenses come in a variety of styles and capabilities. Fixed focal length lenses are often smaller, lighter, and less expensive than zoom lenses.
However, zoom capabilities make them highly versatile for many different photographic situations. When deciding between a prime lens and a zoom lens, it’s important to consider your needs as a photographer.
A zoom lens may be more appropriate than a wide-angle fixed focal length lens if you typically shoot landscapes or telephoto images. If indoor portrait photography is your primary focus, you may want the ability to get close to the subject with a macro zoom lens.
2. Camera Modes
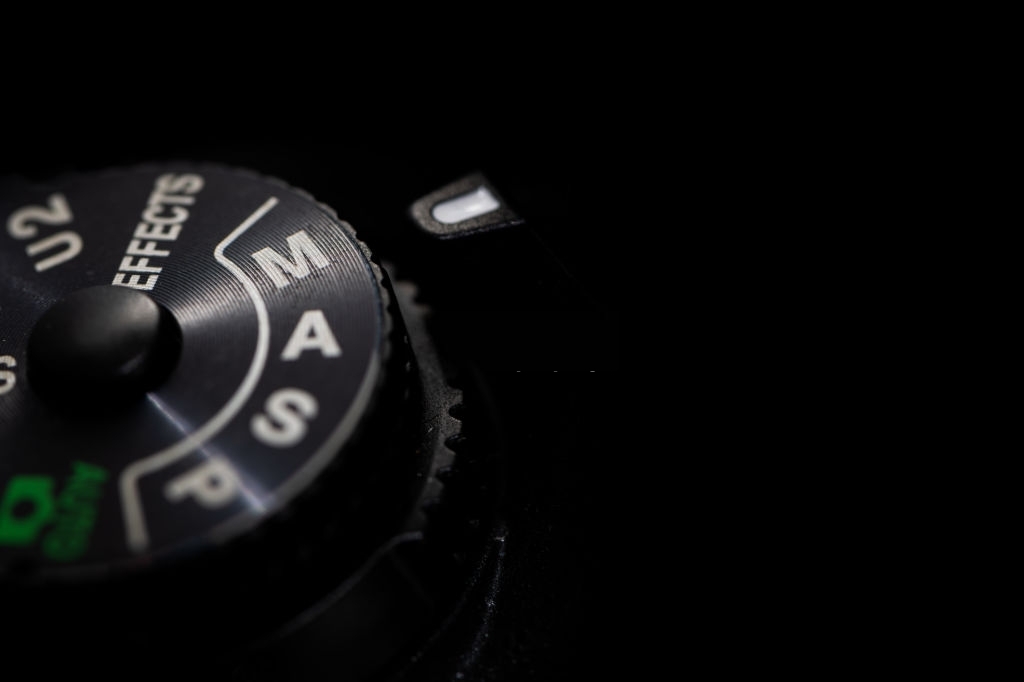
It’s important to know the little details about camera modes. The mode is the power portrait. But how does it work? How can you use it when taking photos?
All of these questions, and more, will be answered in the following paragraphs! We’ll be explaining in detail what DSLR and the best camera setting for indoor photography are.
3. ISO
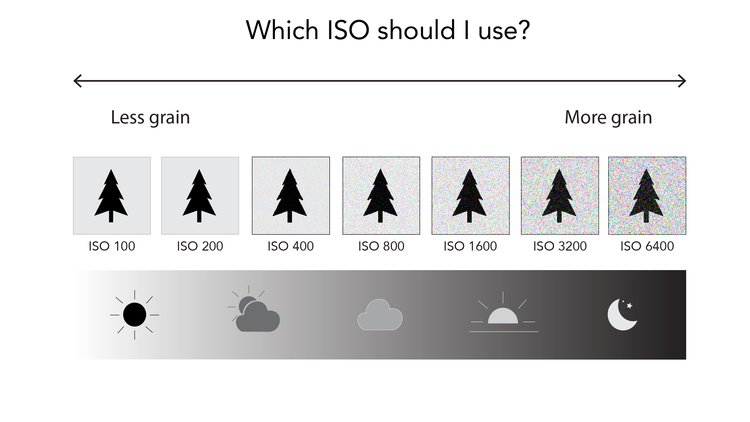
The ISO for indoor photography is one of the most important settings because it adjusts how sensitive the camera is to light. If you’re shooting outdoors in daylight or indoors with electric lights, you should adjust your ISO.
For example, you’ll probably want to set your camera to 100 ISO for better quality maintenance. And if you are shooting an event indoors with little or no lighting, however, you may want to set your ISO at 800-3200 for optimal shutter speed for indoor photography.
4. Aperture
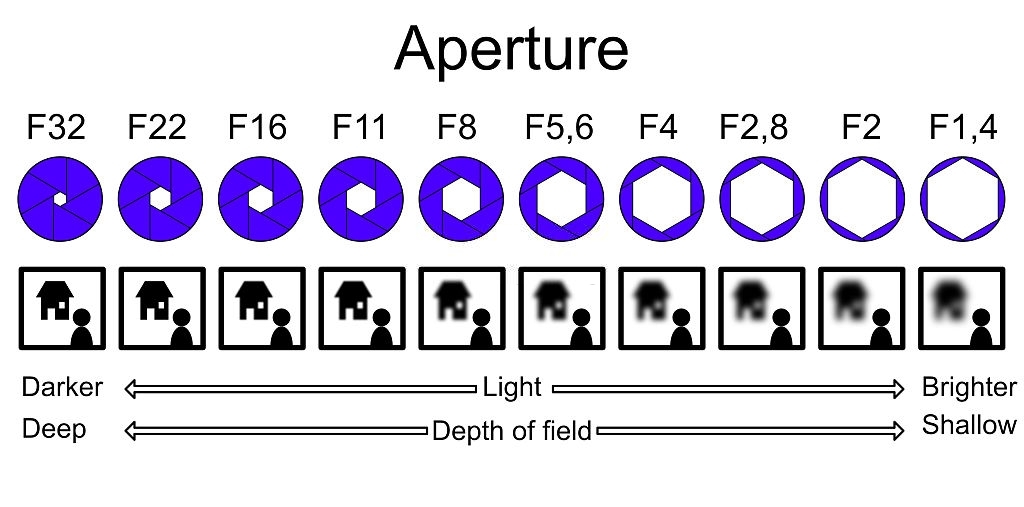
The aperture of camera control is how much light reaches the sensor and what size of apertures appears on an image. A lens opening with a large aperture allows more light to pass into the camera’s body.
For taking photos, a photographer needs plenty of light. Aperture-mode cameras differ from manual-focus cameras in controlling the amount of light that reaches the sensor. Aperture modes are typically abbreviated as “A,” “Av,” “ISO,” or “Macro.”
Cameras with large apertures are ideal for indoor photography as they allow more light to reach the sensor.
5. Shutter speed
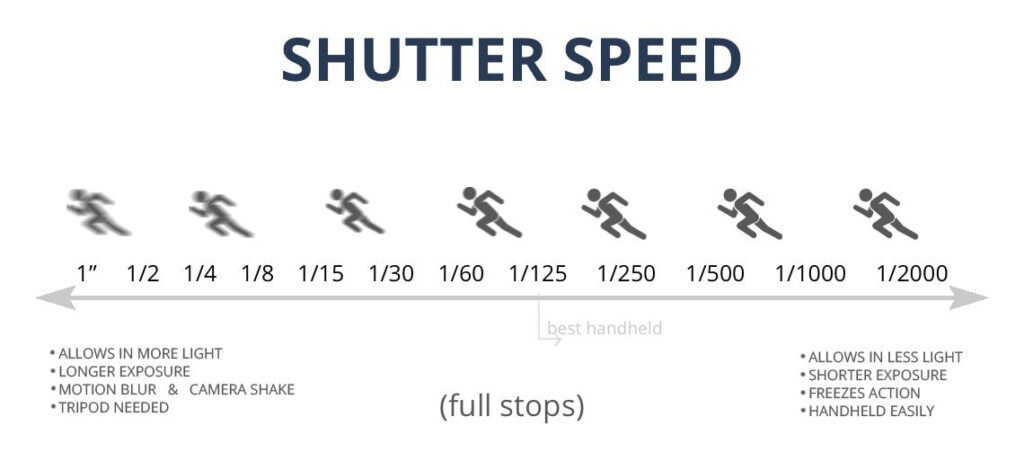
The camera shutter speed mode can easily be switched in your camera by pressing the shutter button. The speed should be about 1/60 second, but never less than 1/50 second.
Your camera has four operating modes, the last of which is the Shutter priority mode. It is similar to auto mode. It will only change the shutter speed to get the appropriate exposure for indoor photos.
6. Ideal Focal Length
A focal length is a distance that one point on a straight line projects to another, and it is a physical dimension of an optical lens or another imaging device.
In most cases, it’s the distance between the lens’s principal optical axis and its focal point. The optimal portrait lens for most indoor photographers is an 85mm f/1.8 lens.
7. Get the White Balance Right
Before taking a picture, the first thing you should do is figure out what type of lighting you have. If it’s daylight, you should set your camera to “daylight.” If it’s cloudy, set it to “cloudy.”
If it’s indoors with artificial light, you will set the camera for “indoor light.” In this case, you’ll want to set the white balance manually.
8. Shoot in RAW
There has been a lot of discussion about the difference between shooting in RAW and shooting in JPEG. One of the biggest differences is how information is stored. Your camera applies an algorithm to compress the data before saving it to your memory card in a JPEG image.
It can lead to lower quality images, especially with complicated subjects like fashion photography. By contrast, the data from a RAW image is stored directly from the sensor (in a file known as a RAW file). It has more details and maintains the quality of your image.
How to Capture Fabulous Shots Indoor? Best Practices
You must use the greatest Canon camera settings for indoor portraits when taking amazing images indoors because photographs taken outside of the maximum flash range will be too dark.
Many cameras have a limit to the flash range of fewer than fifteen feet, about five steps away. Try looking it up in your camera’s instruction manual then you should apply it on a test basis.
1. Take Some Test Shots
A series of test shots are pictures taken at the start of a photo shoot. To identify the right exposure, depth of focus, and different lighting, you have to build a certain image before the set of final images.
2. Find the Best Spots
Well, there are no fixed spots to capture photographs. It makes you different from other people and shows your creativity level. You have to choose such spots that make your subjects interesting and provide stunning photo possibilities that capture the soul of the place.
3. Make Most of the Room
Many professional photographers have a lot of areas to work with, which means they have to be creative in how they plan to get the most out of them.
On the other hand, smaller home studios are often more cramped and challenging to work with. Of course, you can always make a makeshift studio for yourself and be creative. However, you need to get the best of whatever you have.
4. Play with Natural Light
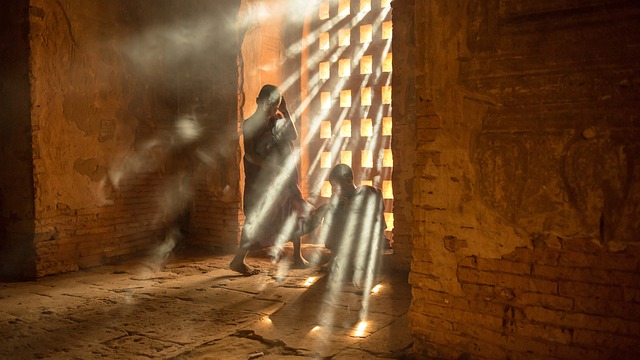
As you know, light is one of the most vital elements of photography, and it can make or break a shot. The greatest aspect of using a DSLR is adjusting the natural light to meet your needs.
You should alter the lighting, adjust the aperture, or even manually adjust the shutter speed accordingly.
5. Follow the Schedule of Time
Timing is a vital factor for capturing good photos. If you want well-lit photos naturally, daytime is the best; consider shooting nighttime if you want gloomy or nighty shade in the photo.
Depending on your timing and subject in focus, the camera settings of ISO, Aperture, and shutter speed will vary. For example, daytime shooting doesn’t require high ISO due to sunlight.
6. Get Creative with Backdrops
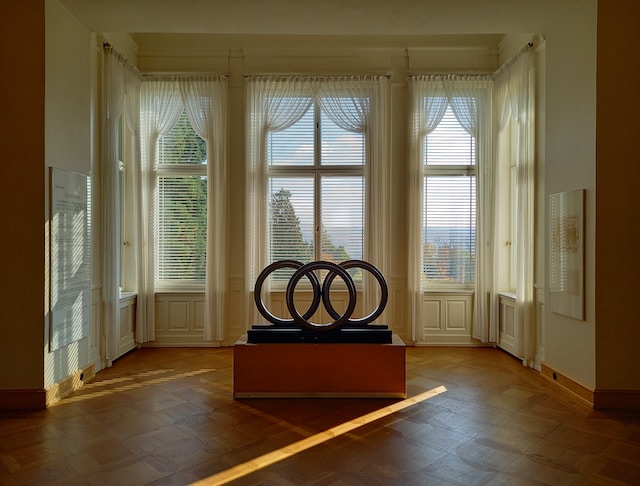
Choosing a creative backdrop might appear to be a challenging task. There are virtually unlimited backdrop variations. Choose the one that’s suitable for your niche.
7. Create a Story around the Subject
Visual storytelling in photography is sometimes referred to as a ‘photo essay’ or a ‘photo story.’ It is a method for a photographer to tell a story through a sequence of images.
Don’t only consider your subject’s lighting and location. Try to consider the entire picture in front of you, including surrounding elements, backgrounds, shadows, bright regions, and so on.
8. Best Use of Window
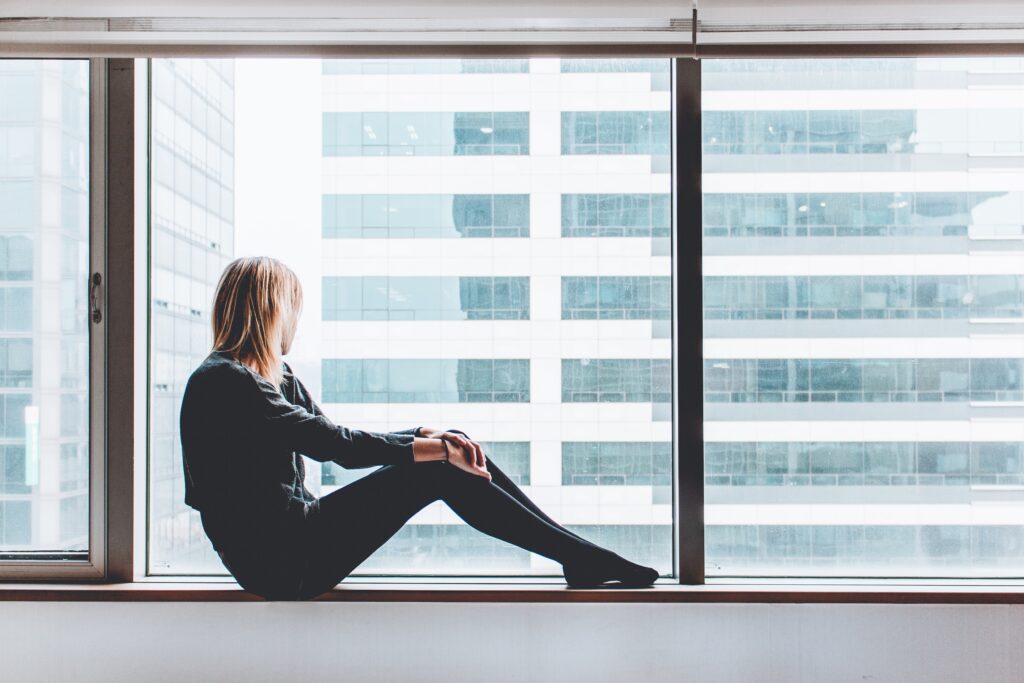
If you ask me what my all-time favorite lighting style was for pretty much any scenario? I would respond passionately and heartfelt, “Window light!”
That is correct. I’ve seen no other natural lighting source as effective and attractive as this one. Window light may illuminate a soft portrait or create a dark effect with deep shadows.
Different windows can cover different variations of light. While taking indoor photography, try to use as much light as possible from the window.
9. When All Else Is Done, Edit Your Photos
The editing process is the final stage in turning a good photo into a work of art. Selectively delete unnecessary content that may shift attention away from your subject.
Sharpen your subject’s edges and remove distractions that are not necessary. Look for color casts or dirt in the corners of your photo. Use photo editing tools to fix small problems.
Also Read: 21 Best Photo Storage App and Sites In 2024
Frequently Asked Questions
What is M mode on Canon?
M mode is called “manual mode” When your camera is in Manual (M) mode, the camera meter will provide you with a measurement of the scene you are shooting.
What is the best shutter speed for indoor photography?
Without a doubt, shutter speed is one of the most important settings in your camera. Shutter speed should be about 1/60 second, but never less than 1/50 second for indoor photography.
What is the standard focal length of a camera?
The standard focal length of a camera is 50mm. However, photographers use different focal lengths according to the situation and type of subjects.
How does white balance affect a photo?
It’s the process of adjusting what type of light your camera captures to mimic the color temperature and other qualities of balanced light. This change includes equalizing red and blue colors and making sure that all colors are saturated.
Why is composition essential in photography?
Composition is one of the most important aspects of photography. As you take a picture, you tell a story with your camera. The photographs tell the best stories to enhance the main subject matter.
What is a good ISO setting for indoors?
Generally, ISO 100 or 200 can work well when you use a tripod and have sufficient light. When you’re shooting with your hands, you’ll need to increase the ISO to 800 or 1000.
How to adjust the exposure triangle on Canon for indoor photography?
If you would like to have a perfect photograph, there are three elements you will need to adjust: aperture, ISO sensitivity, and shutter speed.
Final Thoughts!
The most important thing that you will learn as a photographer is how to set up your shot. Set your DSLR settings for indoor photography; it doesn’t matter if you are an amateur or professional. You will always have to adjust the shot.
When the light and settings are perfect, you will find more interest, enhancing your photography abilities. Apply these camera settings for indoor photography, and you’ll be able to take some stunning indoor photographs all by yourself!
Meta Description: Looking forward to getting ideas on Canon camera settings for indoor photography? You’re just a step away then!