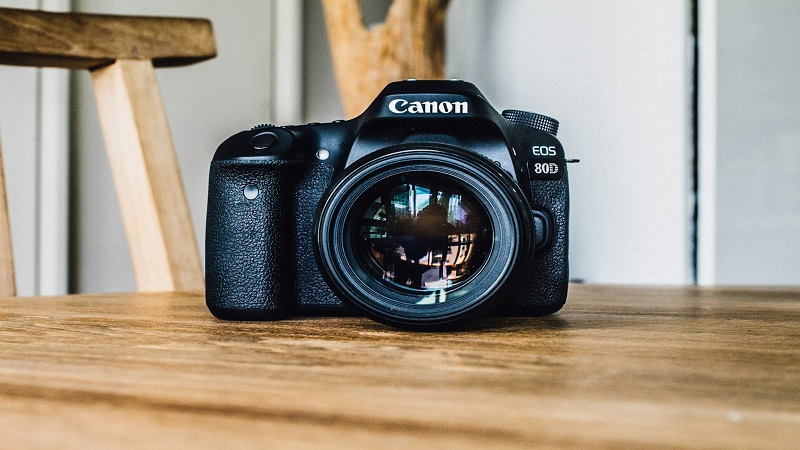
In our recent guide, we explained how to clean a camera sensor. In this guide, we will specifically talk about how to clean a DSLR sensor. You will find out all the methods you have to follow and the tools you require to accomplish this rather important task.
Dust on the sensor can cause a lot of problems for you. For example, it can ruin your DSLR images by creating blobs on them. The blobs or sports will obscure all the details by considerably darkening the photo, especially in the case of astronomical or telephotography.
You can always remove these blemishes in the post-processing using healing or cloning tools. However, it is better to eliminate the source of the problem which is to clean the sensor of your DSLR camera.
The Location of DSLR Sensor
You would normally find the DLSR sensor behind the reflex mirror that receives the light from the lens and reflects it to the prism commonly known as a viewfinder.
The mirror moves out of the way when you use the camera in the Live View or make an exposure. Therefore, DSLR sensors have a certain level of automatic dust-proofing but it is not enough. The tiny dust particles will find a way to get in.
The zoom lenses can also suck in a lot of dust as they constantly cause air displacement by moving their components around.
The majority of modern DSLRs come with dust-reducing systems. For instance, the camera screen will display the “sensor cleaning” message when you switch on or off your camera. The DSLR will vibrate at ultrasonic speed to successfully remove a lot of dust from the lens. Most often, it is enough to get the lens back to normal working condition. You should only clean your lens using other methods when necessary.
Some people also use cans of compressed air for cleaning DSLR sensor. However, we do not recommend this method as it will leave moisture behind that can especially cause damage to the camera’s electronics.
Tools and Materials for DLSR Camera Sensor Cleaning
You need the following materials and tools to clean a DSLR sensor.
- Cleaning kit
- Air blower and brush
- Clean cloth
- Head torch or positionable light
- Clean working environment
How to Clean DSLR Sensor?
You should check your sensor’s condition before trying to clean it. The test includes stopping the aperture at f/22 and taking a photo of the plain white wall or the sky during the day. You also need to increase the contrast in post-processing.
It will not result in the best of photos. It will be a noisy wretch but it will highlight all the problems with your DSLR sensor.
The dust becomes more noticeable against the white background as well as when you decrease the lens aperture. You can also identify the individual fragments of dust using the image as a guide with the help of a magnifying glass. Keep in mind that segments at the bottom of the lens will appear on the top of the photo.
As mentioned above, you should not clean the sensor the moment you spot some dust on it. For example, dust is not a problem if it isn’t available in the images taken at f/2.8 or f/8. In this case, you should leave the sensor as it is until the issue becomes more glaring.
However, do clean the lens after taking the photo at f/22 for testing purposes. See if you can find any difference in both images.
Where to Find Kits for DSLR Sensor Cleaning?
You can easily find kits for cleaning camera sensor from local or online photographic retailers. However, these kits or tools mostly aim at removing stubborn or large dust particles. The cleaning kit usually comprises swabs, brushes, and a bottle of cleaning solution. The dust also sticks to a dry electrostatic brush which is an excellent alternative as well.
DLSR cameras, especially the sensor, are delicate devices and therefore, you should carefully choose the cleaning method. The choice of the wrong material can leave scratches on the lens that will do more harm than good.
You should try to avoid anything that can damage the sensitive lens such as a lens cleaning brush or a paintbrush.
How to Clean a DSLR Lens with a Blast of Air?
Yes, you can remove dust from the sensor without touching it. The best way to clean camera sensor, if it only has slight particles of dust, is to use a blast of air. You can buy special blowers for this purpose as well.
Hold the camera with the lens mount pointing to the ground. Now, blow the air right into the camera. The force of gravity will make the extricated dust drift to the ground.
It is also important to clean the camera exterior before cleaning the lens. It will prevent you from introducing more dust to the sensor than you are trying to clean.
A blower kept in the open can also collect dust that it can blow inside your camera. Therefore, you must also keep it sealed in a plastic bag.
Remember to keep the camera’s mirror open throughout the cleaning as well.
Step-by-Step Guide to Clean a DSLR Sensor
The following is a step-by-step guide for cleaning DSLR sensor.
Step 1
- Expose the sensor
- Find the cleaning option in the menu, if your camera has one. Click on it and the mirror will flip back.
- You can easily dislodge small dust particles by using a blower at this stage.
Step 2
- Clean the sensor using an electrostatic brush. The back and forth movement of the brush should be very gentle.
- Carefully retract the brush without knocking the dust off. Also, ensure that it doesn’t touch the lens mount.
Step 3
- Take the cleaning swab and put a few drops of cleaning solution on it, only to make it damp. Don’t soak the swab or it will start dripping off. Note that you have to apply the solution on the swab not directly on the sensor.
- You have to clean the sensor immediately because the fluid evaporates quickly.
Step 4
- Put the swab on the sensor and gently rub it against its surface.
- Most kits are compatible with both full-frame and APS-C sensors. Therefore, you don’t have to wiggle the swab to cover the entire lens.
Step 5
- Use one end of the slab to clean only in one direction. Flip it over and turn it through 90° when you are going to clean in the other direction. This will ensure you are always using the clean side of the swab.
- Now, you are done cleaning your sensor.
Step 6
- Turn off the camera for the mirror to get back into the position.
- Turn on the camera again after attaching a lens and take another photo. This time, you cannot help praising your photos.
Also Read: How to Check Shutter Count on Sony A7III?
Frequently Asked Questions
How do I clean my DSLR image sensor?
To clean your DSLR image sensor, you can use a specialized sensor cleaning kit that typically includes sensor swabs and sensor cleaning solution. Follow your camera’s manufacturer guidelines for the cleaning process.
Can I clean DSLR sensor with brush?
It’s not recommended to clean your DSLR sensor with a regular brush, as this can potentially scratch or damage the sensor. Use a sensor cleaning kit designed for this purpose to ensure safe and effective cleaning.
Is it OK to clean camera sensor?
It is okay to clean your camera sensor when it’s necessary and done correctly using proper tools and techniques. Regular maintenance can help maintain image quality and prevent dust or smudges from affecting your photos.
Can I use alcohol to clean DSLR sensor?
Using alcohol to clean your DSLR sensor is not recommended. The sensor is a sensitive component, and alcohol can potentially damage its coating or other delicate parts. Stick to sensor cleaning solutions designed for this purpose.
Can I use 70% alcohol to clean camera lens?
Using 70% alcohol to clean a camera lens is generally not recommended either, as it can potentially damage lens coatings and other optical elements. Instead, use a lens cleaning solution and a microfiber cloth designed for camera lenses to safely clean them.
Final Thoughts
Camera sensors tend to be very sensitive and therefore, you should handle them carefully. Even a slight scratch on the surface will render them useless. You can also consult our guide if you want to learn how to clean sensor dust. It will help you clean your camera sensor without inflicting any damage to it.

