
What settings should I use for snow photography? How do I take beautiful pictures in the snow?
We are going to discuss some excellent ideas and ideal settings in this guide for you to take stunning images in the snow.
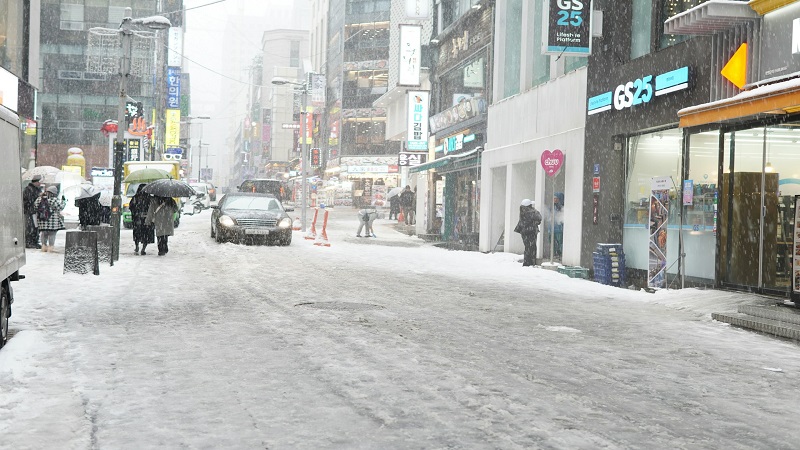
Snow offers some of the most wonderful and unique photography opportunities. However, it can be a bit daunting to take photos in snowy conditions. For instance, the cold weather and reflections from the snow can hamper the performance of your camera and decrease the image quality. Snow, ice, and cold can also make things a bit more challenging for a photographer.
How Do You Take Good Pictures in the Snow?
Taking pictures in the snow is not a bed of roses. You have to tackle temperatures way below freezing point. The conditions are even harsher in places like high altitude resorts or far away destinations in countries like Canada, Norway, Finland, and mountain ranges like the Himalayas and Karakoram.
Ideal Camera Settings for Snow Photography
Before we move on to tips for snow photography, it is appropriate to talk about camera settings for snow photography. The following are some of the best camera settings for snow.
Always Shoot in Raw
You sometimes cannot get the best out of your camera even in ideal conditions. Things can get even trickier when you are shooting in the snow. Therefore, you must always shoot in RAW to have better chances of adjusting levels, exposure, and WB while editing your images.
Use Aperture Priority Mode
You can ensure good exposure by using aperture priority mode. It allows you to set the ISO and the aperture of your camera while the camera automatically adjusts the shutter speed.
Aperture priority mode is particularly useful when you are capturing moving objects such as birds in flight or where light is changing frequently. It can also come to your rescue in the cold. Your fingers cannot do complex operations in freezing weather. However, you can adjust the aperture by only spinning a dial in the aperture priority mode.
Similarly, you can also achieve different artistic looks by changing your depth of field by changing the aperture.
Alternatively, Shoot in Manual Mode
The alternative is to shoot in manual mode. Keep in mind that it is not suitable for new photographers and fast moving targets and situations. You have to change everything not only the aperture, ISO, and shutter speed yourself. However, it is the best option if you can work with cold fingers and want complete control over your camera.
Use Composure Compensation
You don’t have much control of the exposure in aperture priority mode. Sometimes, you have to overexposure and underexposure which is not possible without using exposure compensation. It is essential for taking pictures in snow as we will discuss below.
White Balance
Your snow photographs can turn out to be quite grey or blurry if you use the auto white balance. Your camera metering is grey by default and thus, it sees the whole world in grey. It cannot translate the bright white scene properly in the images. Therefore, you have to adjust your white balance manually, ideally at 6500K, and subsequently, make necessary adjustments. If you don’t want to shoot manually, White Balance presets also have a ‘flash’ setting.
Evaluative Metering Mode
Choosing Evaluative Metering mode can go a long way in getting your exposure right in the snow by analyzing the entire scene. You can also switch to spot metering if you cannot just get good exposure. However, it is recommended to start with Matrix or Evaluative metering.
Snow Photography Tips
After setting up your camera for snow, let us get started with our first tip without wasting any more time.
Prepare Your Camera
One of the first snow photography ideas is to prepare your kit. You need to consider a lot of things before you blindly run into a snowstorm.
You must try to keep yourself and your camera gear safe before you start taking images in the snow. Heeding the following advice will help you avoid mishaps. But – you should also take extra measures if needed.
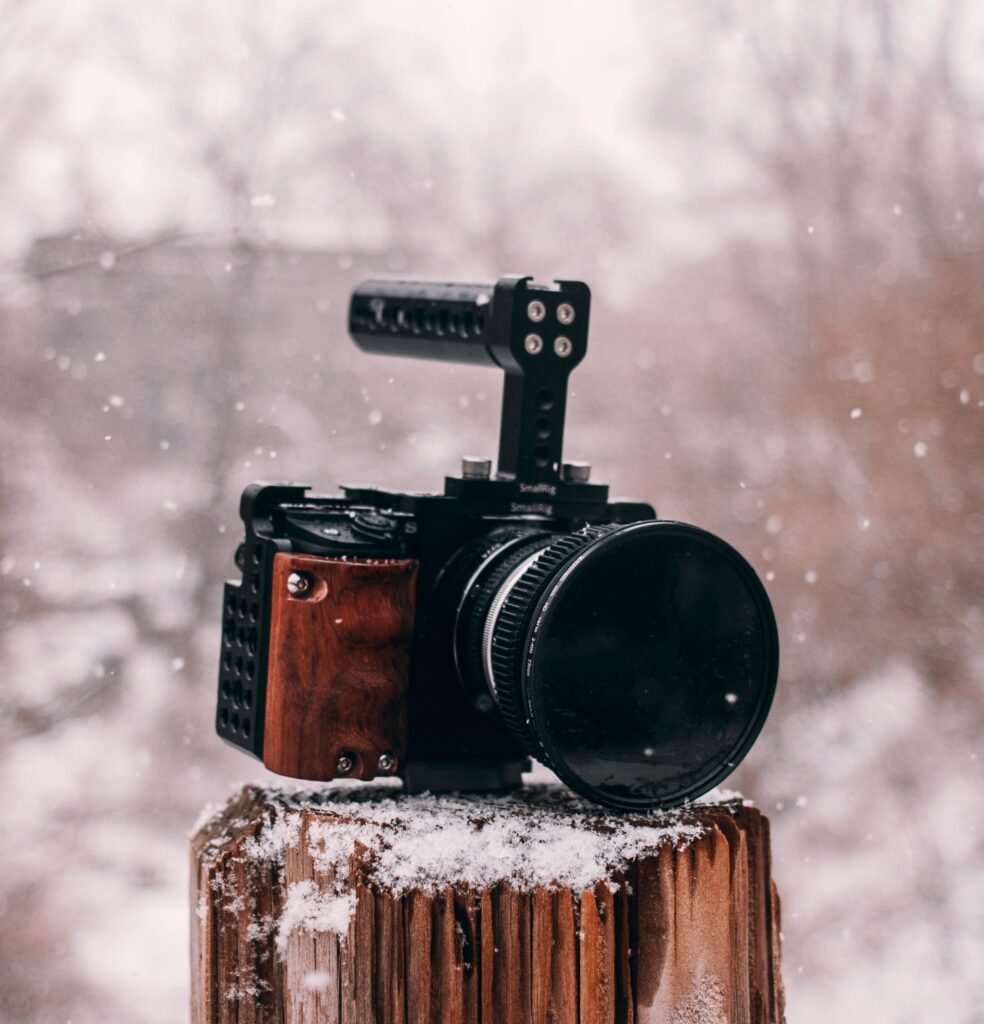
Use a Weather-Sealed Camera
A weather-sealed camera is a prerequisite for a snow photoshoot. It is also advisable to bring a backup camera with you because even a weather-sealed camera can get damaged in harsh weather.
Use a Zoom Lens
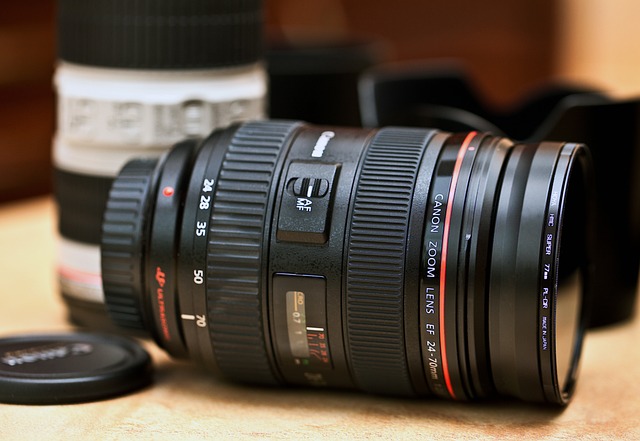
A zoom lens is an ideal choice for snow because you don’t have to change your lens quite often. It prevents moisture from getting into your lens and camera as well as eliminates condensation. Unlike a prime lens which limits you to a single focal length, a zoom lens offers variable focal lengths without needing to change the lens. Once again, only use a weather-sealed lens if possible.
Camera and Lens Cover
We also recommend using a rain cover with a drawstring to cover both your camera and lens. It is also easy to make one if you don’t already have a rain cover. All you need is a plastic bag and a rubber band. But – DIY rain covers are not as effective as readymade rain covers and storm jackets. They are fairly cheap and help you shoot in all weather conditions.
Camera Bag
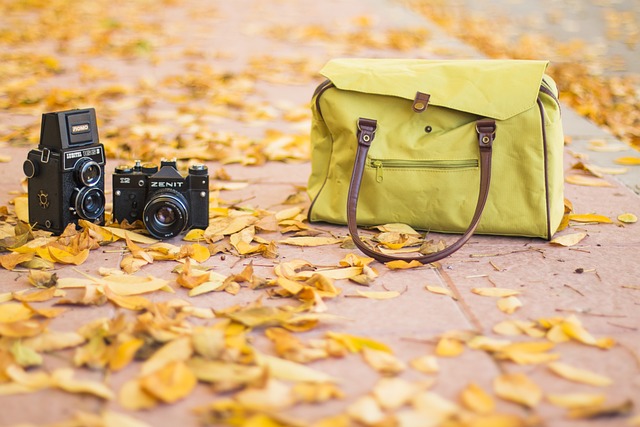
A camera bag is one of the most important accessories. The best camera bags also come with a protective rain cover and therefore, you don’t need to buy a separate one. You can fasten the rain cover in case of rain and snow.
Cleaning Cloths
You must bring a lot of microfiber cloths with you to clean the lens cover which may fog up frequently.
Overexpose to Prevent Grey Photographs
You have adjusted the camera settings for snow photography. However, all of your images are still pretty grey. Why is that and how do you take good pictures in the snow?
As mentioned above, your camera is metered to produce grey images by default. It is perfect for most conditions but not for snow. Your exposure may be the best according to the camera meter but your images are not up to the mark.
Therefore, you must overexpose to 0.75 or even 1 if you want the snow to appear startlingly white in the images as well.
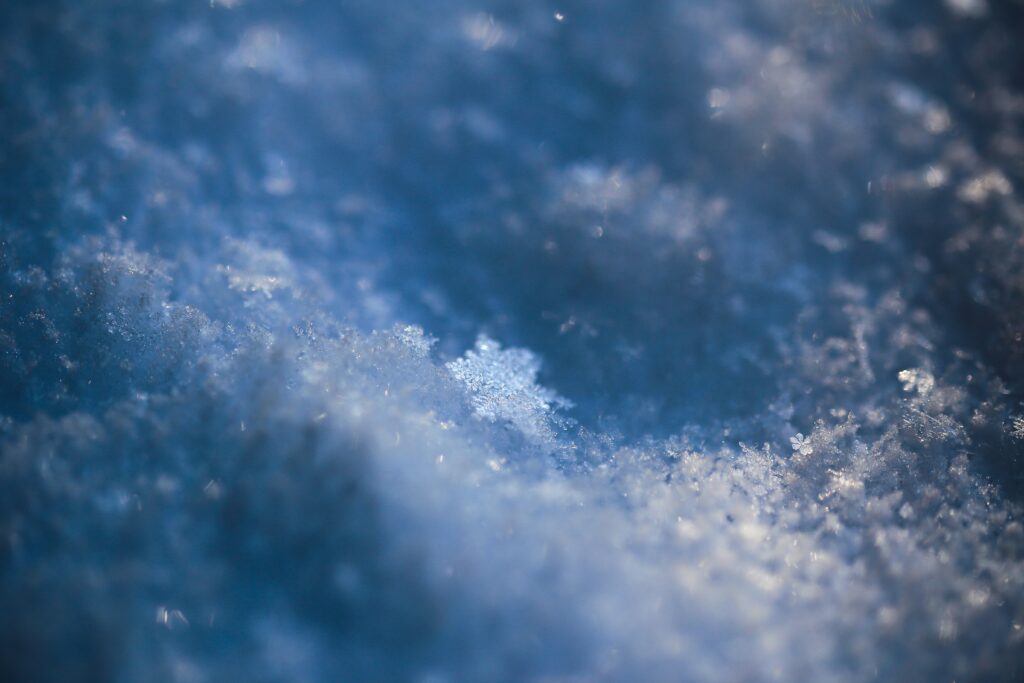
You must expect a slight blue cast in your images even if you overexpose. You can remove all the blue from your photographs by shooting in RAW. However, it can impart a spooky and unnatural look to your images.
Your images get blurred or blue because snow reflects the blue sky. They will have a more natural white bright look if the sunlight is directly falling on the snow.
Photograph the Falling Snow
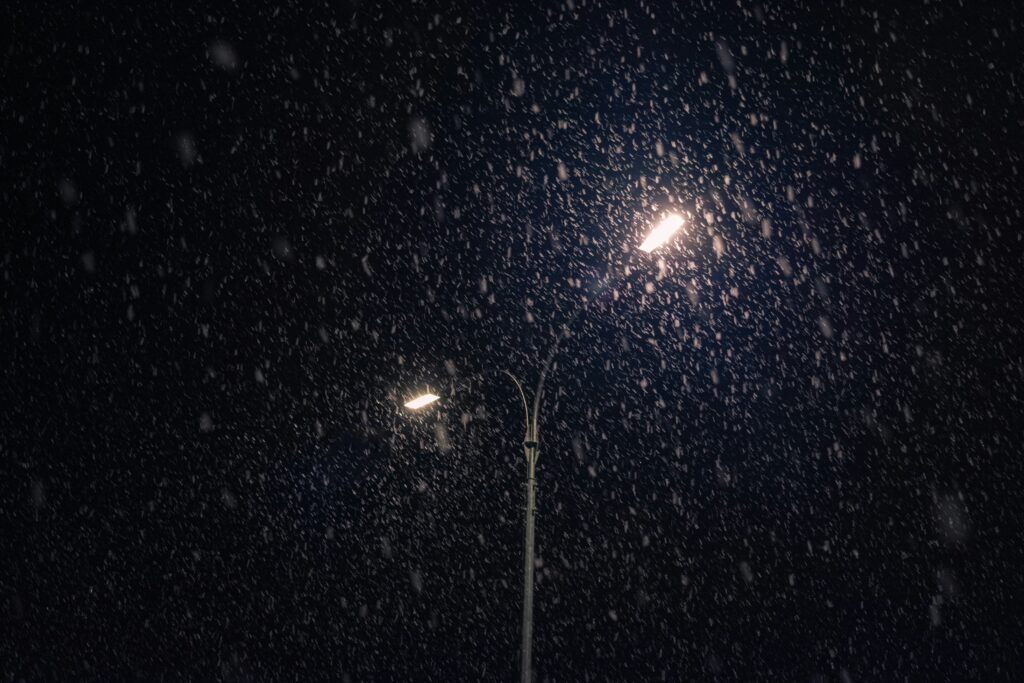
You can create some tremendous images by photographing the falling snow. Aperture priority mode is excellent for snow photographs but what if you want to photograph the milky white snowflakes while they are falling?
You may control the shutter speed to capture falling snow by switching to the manual mode. Now, you can shoot the snow as a whole while it falls displaying it as stripes. Similarly, you can take photos of individual snowflakes as well.
You can show movement by keeping the exposure long (less than 1/100). It will show specks of snow or flakes. You can even make them disappear from view by having an even faster shutter speed.
It is also possible to evoke different emotions in your snow pictures by experimenting with exposure. You can even get good images at 1/30 exposure if you are shooting handled pictures at wide-angle (say 18mm) with your zoom lens.
However, you can better capture the falling snow and evoke its feeling by using a faster shutter speed. A slow shutter can result in blurry or foggy images. You can freeze the action that is snowflakes by using 1/250 or higher shutter speed and still maintain that sense of movement.
Choose the Right Subject

The first thing you should think about when you want to take photos is your subject. What do you want to capture in the snow?
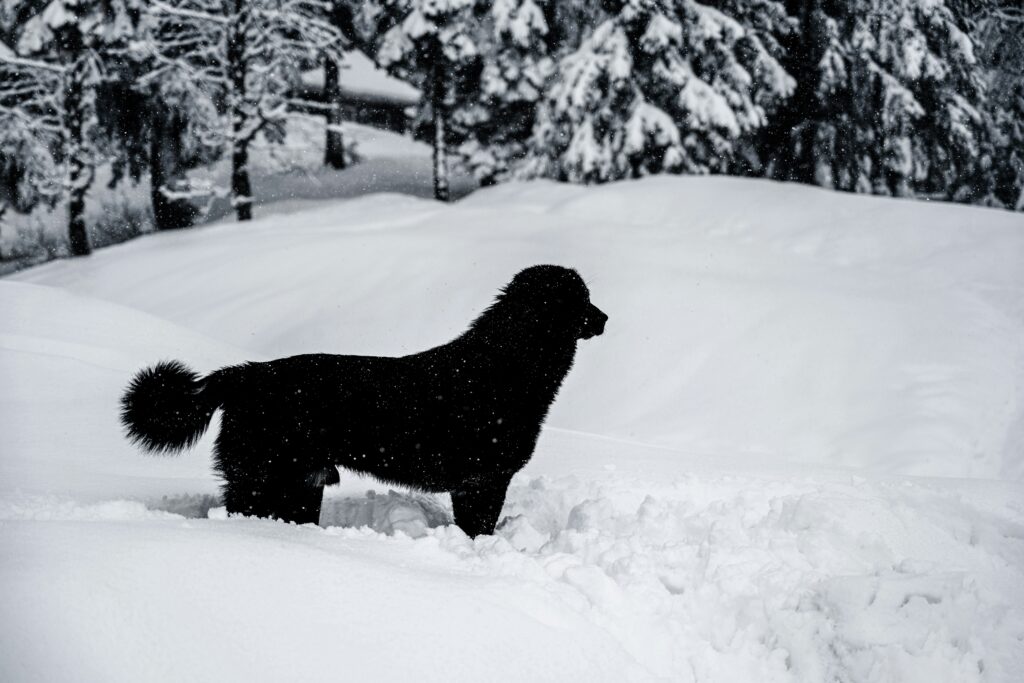
You can create mesmerizing snow images by including a busy street, a cityscape, or a snow landscape. You can also include people, wildlife, or other figures in the images. All of them would create a beautiful contrast with the bright snow.
Focus on Contrast
Talking about contrast, the camera’s autofocus identifies the contrast in the scene to work. It can be very difficult for it to acquire focus if everything it detects is white. As a result, you can miss a lot of golden opportunities to take beautiful images, causing sheer frustration for you.
Fortunately, you can easily resolve this issue by enabling single-point autofocus on your camera. Subsequently, find an area on the snow with as much contrast as possible. Now manually focus on it and you will get the desired results. For example, you can focus on a tree, a rooftop, vegetation poking through the snow, a person, or anything that has a different color than white.
Only press your shutter button halfway. The camera should focus if the scene you are capturing has a sufficient amount of contrast. However, you have to find an even more contrasty area if the focus is still not working.
Now, recompose the shot but hold the shutter button at the same position. Press the button all the way down once you have achieved the ideal composition. You have taken a perfect image in the snow.
Check Exposure on Histogram
The bright snow can cause imprecision while exposing when you are viewing the scene on your camera’s LCD. You can check your exposure more accurately on your histogram. It will help you preserve details and create a better image compared to the LCD.
You may want to overexpose your image on certain occasions. However, you must know how to use the histogram to frame an image before you start shooting in bright white conditions.
Try Black and White Conversions
You can take stunning snow photos in black and white or monochrome. You just need to increase the white and contrast and see your photo going from ordinary to extraordinary. However, you need to use the contrast carefully otherwise you can easily have grey images, as mentioned above.
Use the Flash to Brighten Snowflakes
Shooting falling snow at night can be difficult if you don’t have a light source such as a speedlight. One solution is to use your on-camera flash if your camera has one.
Set your camera to Matrix metering and manual mode. Expose the overall scene by reading the exposure without turning on the flash. Now turn your flash on but keep the same metering by sticking to the manual mode. These settings will overexpose the snowflakes in the front. Similarly, the overall scene including the background will also be well exposed.
Go Out and Shoot

You cannot get splendid pictures if you limit yourself to good weather or specific light only. Snow covered places look beautiful in all light conditions as well as bright and overcast weather. Therefore, you should not worry about the weather and learn to take photos in the conditions you have.
Unlike heavy rain, it is fun to shoot in the falling snow. The ‘bad’ weather should not put you off but encourage you to go out and create your masterpieces. We have already explained how to take beautiful images in the falling snow. The snowfall helps you capture moody images of everything you want.
Similarly, you can also include people putting up umbrellas or pulling their coats in the images to have a different perspective. You can add interest in the mages by including grass, trees, buildings, and anything that breaks the ice while it is overcast or snowing.
However, you should be careful while shooting during the snowfall. It is better to stay inside when it is a real and dangerous snowstorm. You can always capture the fresh snow surface after the storm has ended.
Don’t forget to protect your camera when it is snowing, especially in the case of wet or heavy snow. You can use an umbrella with minimal wind or a rain cover during heavy snow.
Also, Shoot on Sunny Days
Clear sunny days offer yet more atmospheric possibilities to take snow pictures. For example, the bright light makes beautiful shadows on the snow that you can shoot. Similarly, you can also capture the warm light on the snow in the morning or evening.
Act Fast
Snow is notoriously unpredictable. It can start falling in an instant and stop without any warning as well. It also starts melting when the sun comes out. The beautiful scenery can go from incredible to dull in no time.
You need to act fast to capture spectacular images in the snow. Keep your gear ready and constantly monitor the weather. Keep looking outside the window and seize the opportunity as soon as it presents itself. Make hay while the sun shines and take some stunning snow images while you can.
Take Pictures of Fresh Snow
One of the simplest snow photography tips is to take pictures of the fresh snow immediately after the snowstorm. Everything will be pristine and sparkling devoid of yellow snow, footprints, dirt, and mud. You will have an unspoiled winter wonderland in front of you to capture with your camera.
Keep in mind that snow does not remain pristine for long. Therefore, you may have to get up early or get outside as soon as it stops snowing. Also, find an area with the least number of people to disturb the snow.
Go for Different Perspectives
Composition is one of the most important aspects of snow photography. We have already discussed how including different objects in the image can totally change their looks. However, another thing you need to carefully consider is the perspective.
For instance, shooting up by getting low can result in extremely creative images. Similarly, shooting down from a high spot will offer equally appealing results. It will help you show how snow clings to everything or blankets the surface.
Make every photo even better by looking for opportunities and perspectives. Try different angles, move close or away from your subject as well as to its left and right. Even changing the lens can deliver a completely new perspective.
Create some Lively Bokeh
Snow and ice can be a lot more glittering and reflective on a sunny winter day. Therefore, it is also the best time to create some lively bokeh in your snow photographs. As you know, the best way to create the bokeh effect is to capture something out of focus, in this case, the light sparkling on snow.
First of all, find a subject with a shiny background. The background could be light shining through the ice, light breaking through trees and buildings, and melting snow reflecting the light. Now, ensure there is enough distance between the subject and the background. Select a wide aperture such as f/2.8 or even wider.
The wide aperture will focus your subject but it will blur the sparkling background, creating a beautiful bokeh in the image.
Be Patient
You need to wait for your chance to get a superb snow image patiently. Conditions can change rapidly in places that receive snow. Similarly, the changing light can also change the look of the snow from ethereal to sparkly, flat, three-dimensional, and so on. Sometimes, you have to wait for the light to change to get the perfect shot.
Therefore, check the light if the snow doesn’t look the way you want. Is the sun too high or low in the sky? Is it behind a cloud or a mountain? Then just wait and hope that conditions will improve for your images.
Use a Lens Hood
You may not use your lens hood quite often. However, it is a very useful and rather important accessory for snow photographs. The lens hood can improve contrast considerably and create sharper images by reducing the glare emanated by the bright snow.
However, the lens hood performs another very important duty. It protects your lens from snowflakes which otherwise may land directly on it. It keeps your lens dry both in rainy and snowy conditions.
Most lens hoods are also extremely inexpensive to buy if your camera does not already have one.
Try a Polarizing Filter
You can also use a polarizing filter for cameras with interchangeable lenses. The polarizing filter filters out the polarizing light by attaching it to your lens.
Some certain surfaces such as water and snow can reflect a lot of light that can enter into your camera, also called polarizing light. The polarizing filter reduces this light while it is snowing and improves colors and contrast in the images just like the lens hood.
Shoot at Blue and Golden Hours
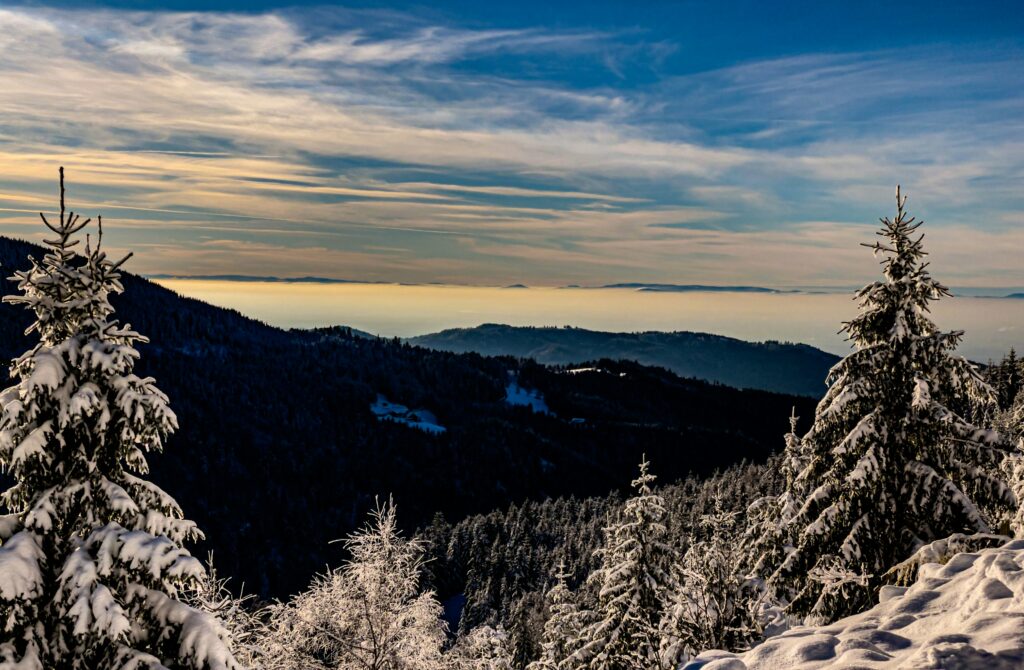
The best time of day to take pictures in the snow is the blue or golden hour. The light is cold and blue and yellow and warm in tone at these times respectively. These are the best times of the day for shooting snow. As mentioned above, snow can produce a lot of glare and amplify the reflected light. However, it cannot do any of these things during early morning and late evening. Similarly, cool tones just before the dawn or warm sunset make your images truly spectacular.
Keep Camera Batteries Warm
Your batteries dry up quite quickly in the snow. You require fully charged batteries to shoot in the snow. So, always have backup batteries and keep them warm by putting them in the inside pocket of your jacket all the time.
Replace your low or empty battery with a warm one. Put the drained battery in the pocket and it may be usable again when it gets warm after some time.
Protect Your Camera and Lens
Your lens and all the internal parts can develop condensation when you take the camera from a cold to a warm environment. However, you can prevent the problem by keeping a large freezing bag with you when you go out. Just put the camera in the bag and seal tight it when you are done shooting and thinking of going back inside
Now, let the camera warm up slowly. Do not take it out of the bag before it reaches room temperature. However, it is better to have a dedicated camera bag if the weather is extreme.
Keep Yourself Safe
Besides your camera, you must also keep yourself warm and safe. First of all, you need to check the forecast before going out to shoot. Skip the photo shoot in case of weather warnings and wait for the bad weather to pass.
Similarly, take proper care and prepare yourself when you think it is time to go out and start shooting. First of all, wear layers of warm clothes and also try having a waterproof top if possible. You may need things like a scarf, hat, gloves, a jumper, or even more if you are in a very cold area.
Apart from keeping warm, you may have to tackle other hazards associated with the cold such as avalanches, slippery surfaces, frostbite, and hypothermia. You should not endanger your life or compromise your health just for taking a good shot.
Also Read: Can I Use a MicroSD Card in a Digital Camera?
Frequently Asked Questions
What are the best settings for snow photography?
For snow photography, use a low ISO (100-400) to avoid overexposure and maintain snow’s white color. Set the white balance to “Cloudy” to add warmth, and use exposure compensation (+1 to +2 stops) to prevent snow from appearing gray. A polarizing filter can help reduce glare and enhance the sky’s contrast.
What shutter speed for snowfall?
To capture snowfall, the shutter speed depends on the desired effect. For sharp, clear snowflakes, use a fast shutter speed (1/1000 second or faster). For a more blurred, snowing effect, a slower shutter speed (1/60 to 1/250 second) is effective.
What aperture to use for snow?
Choose a medium to small aperture (f/8 to f/16) for landscape snow scenes to ensure a deep depth of field and sharp details throughout the image. For close-up snowflakes or portraits in snow, a wider aperture (f/2.8 to f/5.6) can be used to isolate the subject with a blurred background.
What filter is best for snow photography?
A circular polarizing filter is ideal for snow photography. It reduces glare on the snow and enhances the blue of the sky, resulting in more balanced exposure and better color saturation. It also helps manage reflections and improves contrast.
Can we use DSLR in snow?
Yes, you can use a DSLR in snow, but precautions are necessary. Protect your camera from moisture and drastic temperature changes using weather-sealed gear, camera coats, or plastic bags. Keep batteries warm to preserve their charge, and acclimate your camera to cold temperatures gradually to avoid condensation.
Final Thoughts
We hope you have found a satisfactory answer to your question, “What settings should I use for snow photography?” We have covered all the points and tips that can help you take some gorgeous images in the snow.
Shooting in the snow is quite a cumbersome task. But – you can easily take photos in the snow in various conditions if you follow our advice.