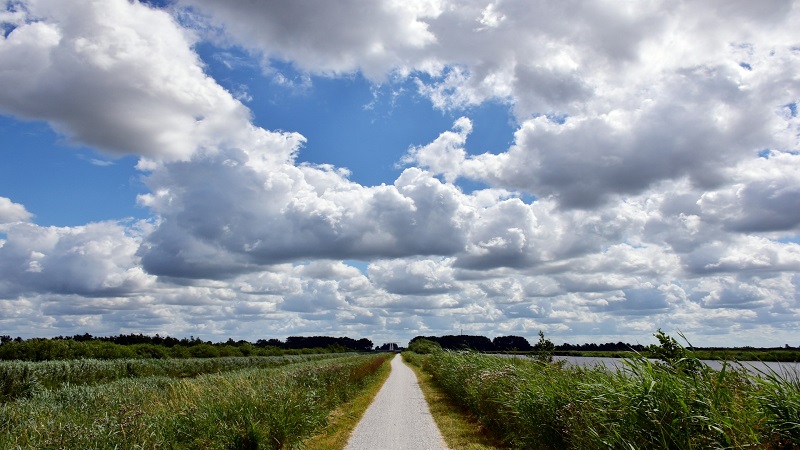
In this article, we will explain how to take landscape photos for you to capture perfect landscape images every time.
No other type of photography can offer the thrill, charm, and uniqueness associated with landscape photography. Whether it is urban, rural, or natural landscapes, there is always something new and extremely beautiful to capture. It is also the most rewarding type of photography. There is nothing better than capturing multicolor plants, gushing water, or breathtaking sunsets from your favorite sport.
Best Landscape Photography Tips
Several factors can ruin your landscape photos. Some of these factors include bad weather, choosing the wrong time of the day, faulty photography equipment, and of course, inexperience. Therefore, the following landscape photography ideas will help you avoid these problems and mistakes. Similarly, they will also enable you to improve your overall photography skills and become a good landscape photographer over time.
1. Location is the King
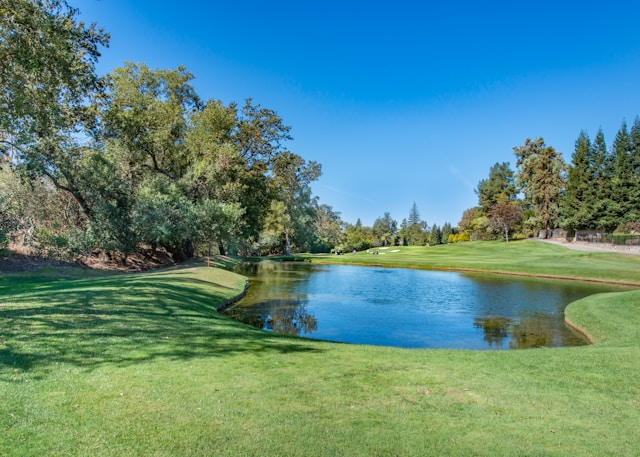
Location is perhaps the most important consideration when it comes to taking captivating landscape photos. It is even more important to plan where you want to take the picture than actually taking the picture. You must have the full idea of the location you want to capture. Similarly, you must know what the best time of the day is to take pictures at that spot. You can also find the perfect location in the area by reading the maps.
Try to reach your desired site as early as possible to properly scout the location. In some cases, you can find even a better spot to take your photographs. Showing up early will also enable you to capture the best light.
In case you want to shoot the sunset, try to stay as late as you can. In my experience, the best time to shoot is when the sun has gone down or the blue hour. However, don’t be too late otherwise it will become hard for you to find your way back.
2. Sense of Depth
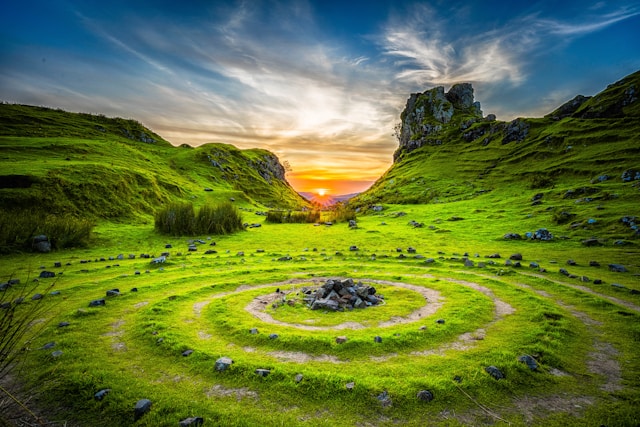
The Sense of Depth can give a new dimension to your landscape photos. The ideal way of using the sense of depth is to keep everything you want to capture from foreground to infinity in focus, using smaller apertures such as f/11 to f/16. This method allows you to create a deeper depth of field, clearly showing everything in the image. As a result, it is visually more appealing to the viewers.
You can also use a shallow depth of field to achieve a sense of depth in your photos. For example, you can blur everything in the background using larger apertures such as f/2.8 and f.4 to bring the subject of the image in focus. The purpose of this technique is to force the viewer to look at the subject only, making the image even more visually attractive.
3. Don’t Ignore Foreground Elements
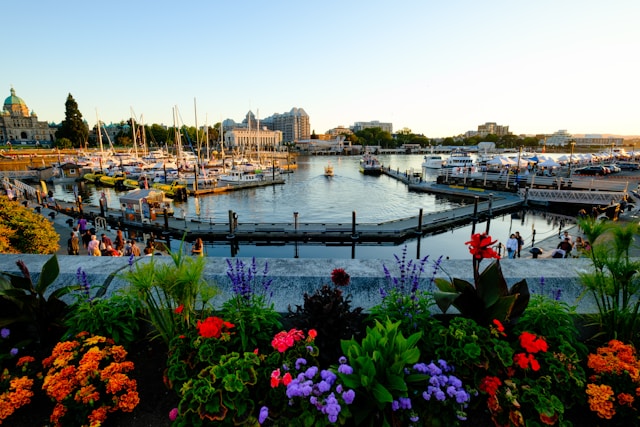
One of the best ways to make your images even more beautiful is to use foreground elements. You can use even the most mundane of elements such as leaves to create sensational landscapes. Therefore, try to find and use as many foreground elements as you can the next time you are capturing landscapes.
4. Use a Wide Angle Lens
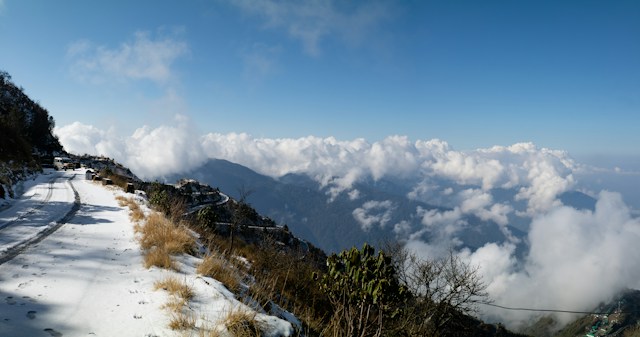
A wide-angle lens is perfect for landscapes because it covers a huge area besides allowing to shoot a wide view. Similarly, you can get very close to the foreground elements using the wide-angle lens to create depth of field, leading the viewers’ eyes to the focal point of the image.
On the other hand, a wide-angle lens simply allows you to fit more subjects into the image. It is a great option if you also want to show wide open spaces or have a sense of greatness about your images.
Wide-angle lenses also allow more light into the lens. Therefore, you can capture sharp foregrounds and backgrounds by shooting images at faster shutter speeds such as f/11.
5. Select a Mid-range Aperture
Talking about aperture, you should select the mid-range aperture on most occasions. It will give you clear and extraordinarily sharp images. The exposure setting including the aperture greatly affects the image brightness and clarity. Always choose a mid-range aperture that is two to three stops higher than the lowest stop. The best aperture setting in my opinion is f/8. Anything closer to the lowest or highest aperture such as f/22 or f/2.8 will considerably decrease image clarity.
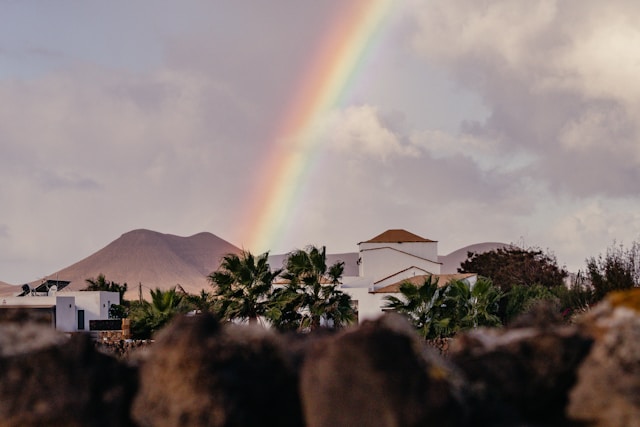
For example, you can blur the foreground and focus on items in the background such as trees, mountains, people, buildings, etc. by using a low f-number or a really wide aperture as shown in the image below.
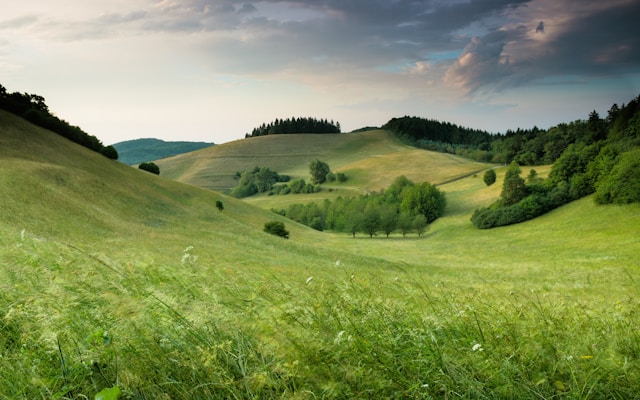
On the other hand, you should use a small aperture or greater f-number to focus everything in the picture.
6. Go for Low ISO
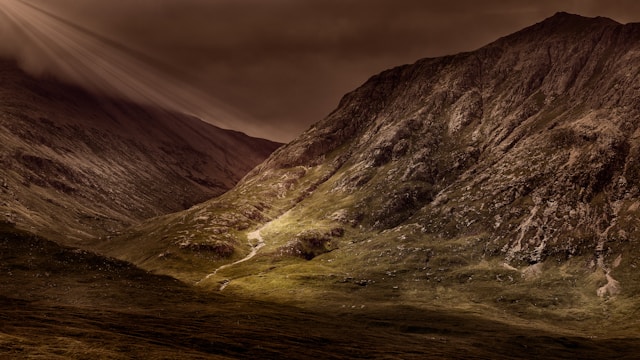
Landscape photography settings also include choosing a low ISO. However, you should not go too low otherwise you cannot shoot with the shutter and aperture speed that you want or require. Low ISO prevents the image from getting grainy which is mostly the case with high ISOs. So, what is the best ISO range for Landscape photos? An ISO range of 100-400 would produce crystal clear and highly detailed images without any grains.
However, you should never stick to the low ISO just for the sake of image quality. Sometimes, a certain shutter or aperture speed requires a higher ISO and you must go for it if this is the case.
7. Don’t Hesitate to Use a Tripod
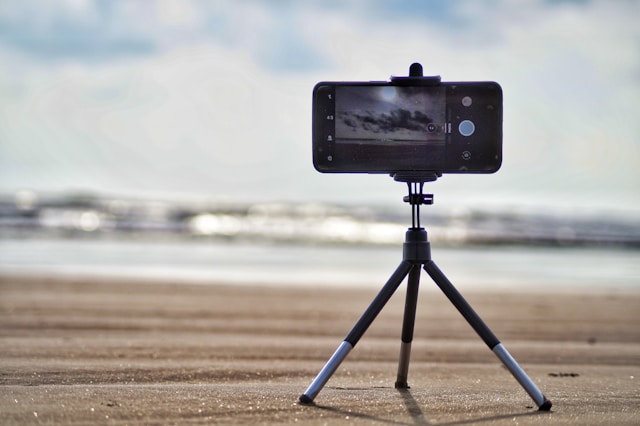
Choosing a shutter speed is quite easy, especially after you have set your aperture and ISO. You just need to select the shutter speed which offers you the best exposure. Some cameras also have aperture priority modes to automatically choose the shutter speed to give you the best possible exposure. However, you should put your camera on a tripod if the shutter speed happens to be too low. Shaking hands can cause image blurring and the tripod will help you eliminate or reduce it.
8. Use a Polarizing Filter
A polarizing filter can considerably enhance the beauty of your landscape photographs. For example, it can reduce glare and improve colors in the images. Landscape photographers often use polarizing filters, especially when capturing vistas including rich colors, sky, water, and plenty of reflections. For instance, the polarizing filter can dramatically reduce the shiny reflection of water on the hills or highlight the lively blue color of the sky.
You can also manually rotate most polarizing filters to adjust the amount of polarizing. Similarly, the filter fits on the end of the camera lens, protecting it from damage like scratches.
You cannot use a polarizing filter with a smartphone or a point-and-shoot camera. However, you can achieve the same effect by putting polarized sunglasses in front of the camera lens.
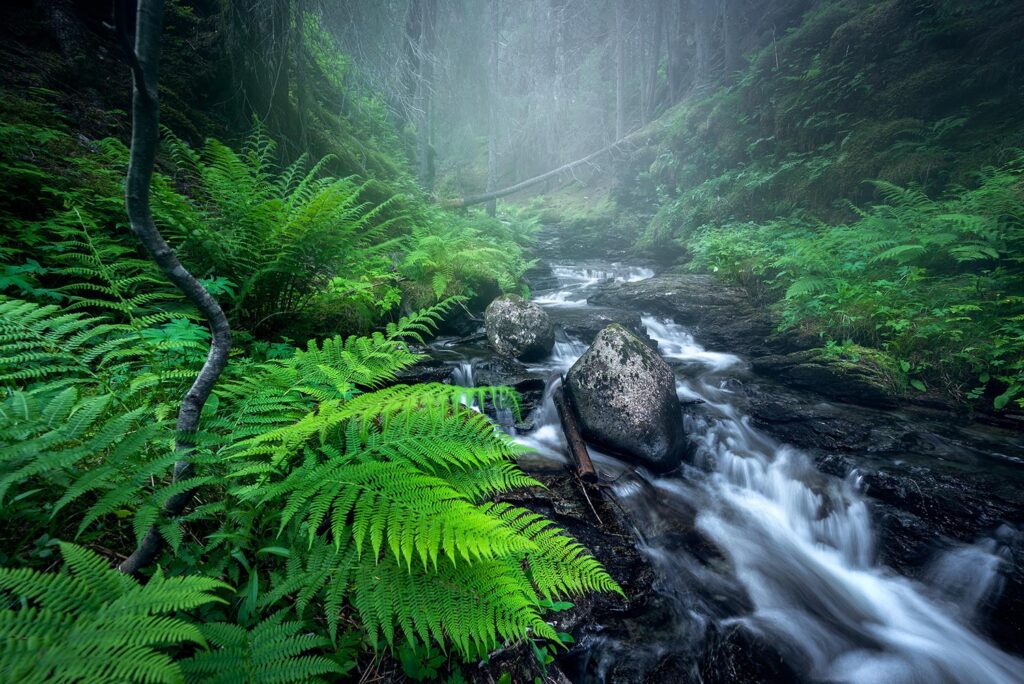
In the following image, the use of a circular polarizing filter greatly enhances the color of the foliage.
9. Shoot During the Golden Hour
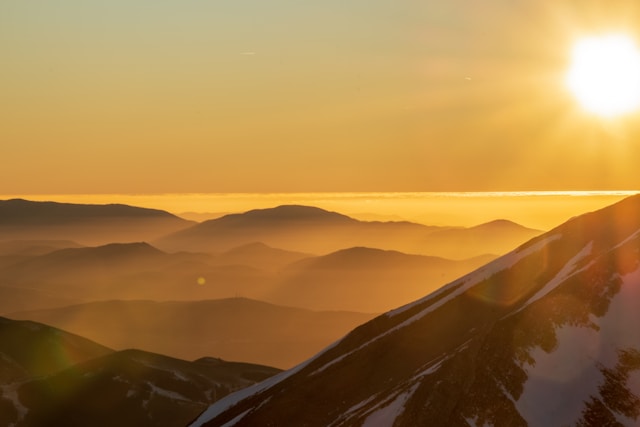
How to take great landscape photos? The answer is to shoot during the golden hour. It is the time of the day just after the sunset or just before the sunrise. The sun happens to be quite low in the sky at that time, providing you with diffused yet extremely beautiful light to work with. Taking plenty of pictures during the golden hour will enable you to get truly spectacular landscape photos. For example, you can add a lot of interest and depth to your images by capturing long shadows. Similarly, your pictures will have a warm yet smooth glow because of the sun being so low on the horizon.
10. What about other Times of the Day?
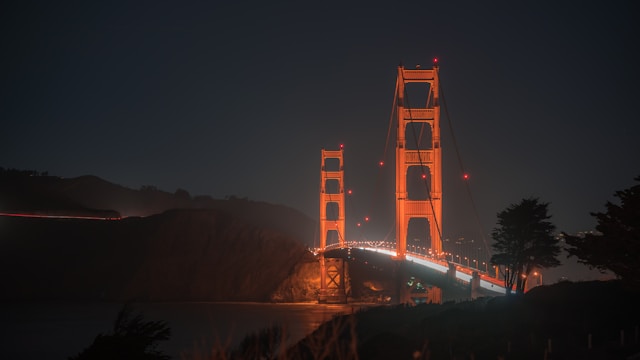
The best time of the day to shoot landscape photos is the golden hour without any doubt. However, you can also take stunning landscape images in the morning, at night, or any time of the day. It is not recommended to shoot at noon just because the sun is so high in the sky. You won’t be able to get the most beautiful of the picture because of the harsh, glaring light. But – you can soften the light using different methods. For example, you can shoot objects nearby rather than focus on vast landscapes. Similarly, you can take photos while standing in a shade such as a tree.
11. Use the Rule of Thirds
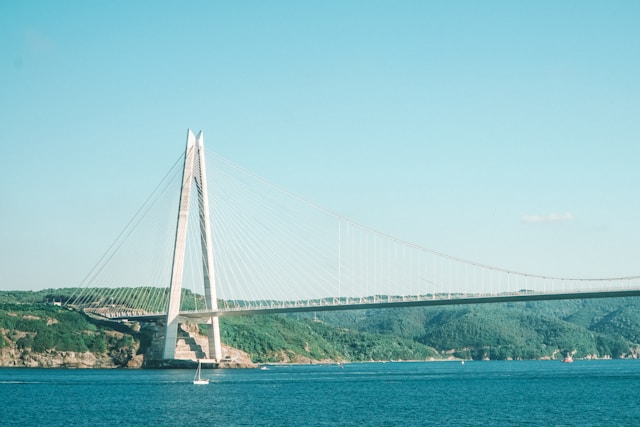
You can use the rule of thirds in all kinds of photography and landscape photography is no different. It can help you take visually interesting and balanced photos. As you may already know, you use imaginary guidelines to break your image or the frame into thirds horizontally and vertically. Subsequently, you would position your subject at the intersection of the two lines or along any of the lines. Many cameras help you enable the actual grid on the LCD screen or the viewfinder. Therefore, it becomes much easier for you to use the rule of the third to compose landscape images.
12. Take Pictures from Different Angles

Your landscape photos can start looking similar if you keep shooting from the same spot. You must try to experiment with new positions, angles, and points of view to mix things up a little. For example, you can get to higher ground such as by climbing a tree or hiking to a nearby hill. Or, you can just lie down on the ground or kneel to change things.
13. Don’t Forget Leading Lines
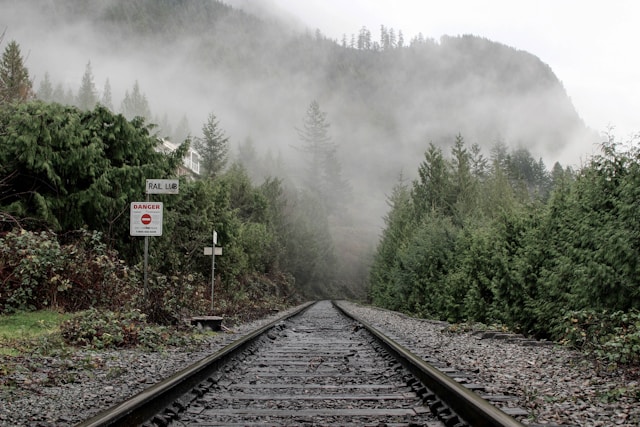
How to take landscape photos using the leading lines? You can easily draw viewers’ attention to the focal point of the image by maximizing the use of lines. For example, you can direct the viewers’ eyes and create a sense of movement by using everything from clouds, trails, trees, and cliff lines in your photo.
14. Always Use a Good Camera
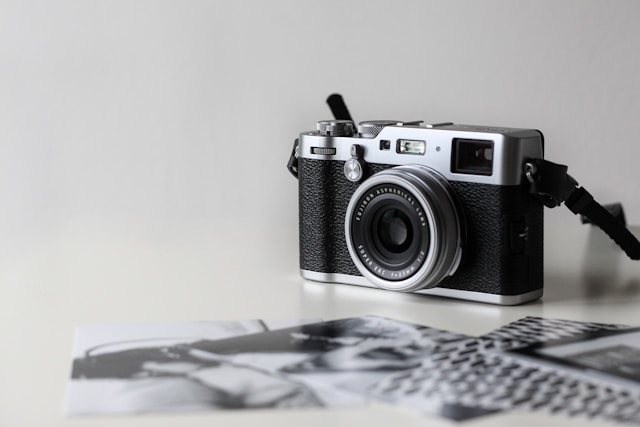
DSLR and mirrorless cameras are ideal cameras for taking landscape photos. You can shoot terrific landscapes with modern smartphones as well. However, they still cannot offer the quality of a real camera.
Mirrorless and landscape cameras do not only have larger and much improved sensors compared to smartphones. They also have a lot of settings to adjust the image exposure. We also recommend buying a full-frame camera with a 35mm sensor. Such a wide-angle lens would help you capture the widest of landscapes in your image.
15. Use a Good Lens
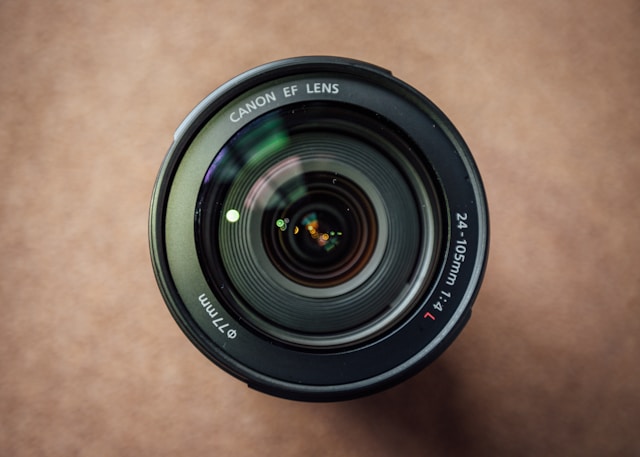
Apart from having a good camera, it is also important to get a compatible lens. Similarly, the lens should be fully optimized for landscape photography. As mentioned above, you can capture most of the landscape besides giving a new perspective to your photos using a wide-angle lens. Also, keep in mind that wide-angle lenses usually have focal lengths smaller than 35mm. However, expert landscape photographers use ultra-wide lenses that are typically lower than 24mm.
You can capture even wider views with a 24mm lens but the image could be distorted. That is why some photographers don’t like such a wide-angle lens.
16. Use Water as a Mirror
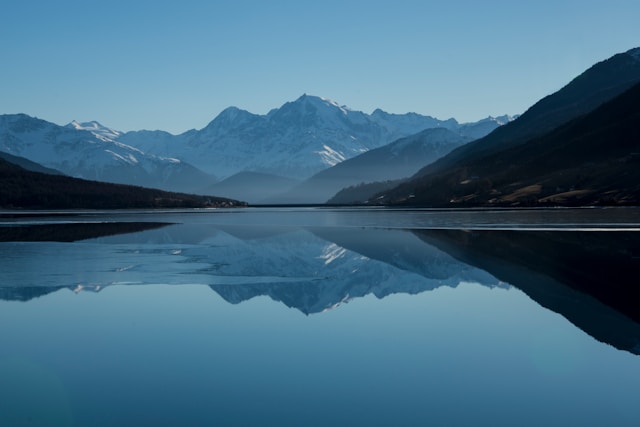
How to take good landscape photos using water? The best way to use water in landscape images is to capture it in subdued light. It will create spectacular reflections and effects in diffused light or during golden hours.
17. Capture Moving Subjects
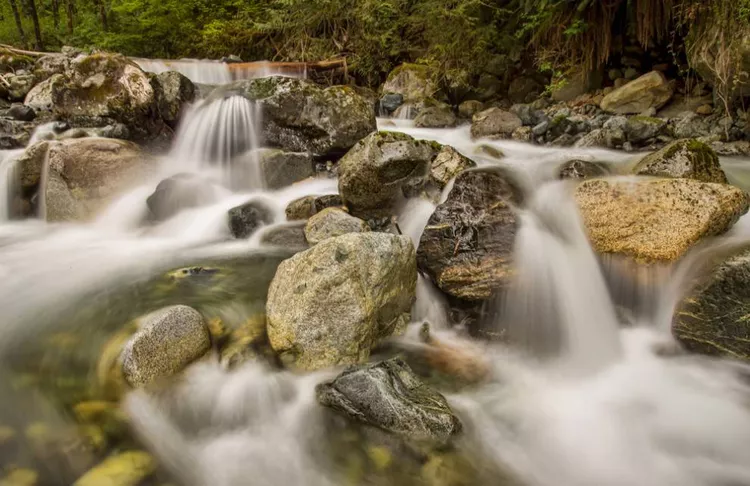
How to take landscape photos by capturing moving subjects? It is rather simple to achieve the desired result. For example, you can use a long exposure to create an image with an exquisite white water effect if you decide to shoot moving water.
What you need to do is to select shutter priority mode. Similarly, the exposure should be longer than 2 seconds to attain your goal. You can also have a longer shutter time, if shooting in the bright sunlight, by reducing the amount of light entering the lens through an ND filter.
Some photographers also use a tripod to keep the rest of the photo sharp.
18. Include People in the Image
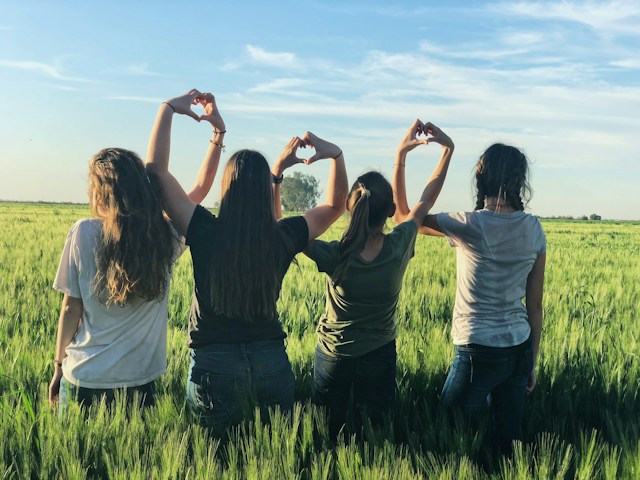
You should not restrict your landscape images to nature only. You can also include people in your shots such as a beautiful girl running in the fields or a cute boy flying his kite. You can further create interest by positioning the person in an off-center place. Similarly, you must use a slower or faster shutter speed if you want to shoot the movement or freeze the action respectively.
19. Use a Shutter Release
Using a shutter release is a very useful landscape photography technique that most beginner photographers ignore or simply don’t have. It is a very advantageous accessory, especially when it is impossible to use fast shutter speeds. It is a small device that connects to your camera. You can control it through a cable or even a remote control. The biggest benefit of the shutter release is that you don’t have to hold the camera and release the shutter manually during long exposures that can result in image blurs.
20. Learn to Use Manual Exposure
This is one of the most important landscape photography tips for beginners. It is always nice to use the automatic exposure setting. But – nothing compares to shooting with manual exposure. Therefore, you must familiarize yourself with ISO, aperture, and shutter or the so-called exposure triangle. Each one of them controls the amount of light entering the lens and is measured by a numerical value.
Aperture: Measured in “stops” or f-number, it is a theoretical value that determines how big or small the lens’ iris opening is. It plays a crucial part in determining the depth of field besides regulating the amount of light entering the lens.
Shutter Speed: It is the speed with which the shutter closes after you click the shutter button. The closing of the shutter also means the end of the image capture.
ISO: It measures how sensitive the camera is to available light.
You can get the best exposure for your photo by adjusting each of these settings. The right combination helps you get remarkable images in the night and stunning photos during the day. However, you have to understand and learn how manual exposure works before start using it.
21. Your Photos should be Meaningful
All landscape photography tutorials emphasize the importance of proper image composition. You can change the perspective of your image by shooting from a slightly different vantage point. Fortunately, you can follow or break a lot of compositional techniques to create a photo that will deliver your message besides gaining the viewers’ attention.
Some of these techniques are selecting the right orientation for your image, simplification, balancing your images, using leading lines, and observing the rule of thirds. You can only capture better and more attractive photos if you understand all of these techniques.
22. Shoot in RAW
You must be wondering how to shoot landscapes in RAW. Shooting in RAW would deliver even more fascinating landscapes than in the traditional JPEG. You can capture images of the highest quality in RAW format because it also preserves all the information. Meanwhile, JPEG loses a sizable image date because it compresses the images.
RAW files also make it a breeze to edit the image in the post processing. It is much easier to correct the white balance issue, enhance colors, and do other adjustments in RAW than in JPEG. Shooting in RAW offers a lot of flexibility when it comes to editing your landscape photos.
23. Select the Landscape Auto Scene
You cannot manually adjust ISO, aperture, and shutter speed in some cameras. If this is the case, you should turn on the auto landscape setting or scene before taking the photographs. Auto landscape settings automatically and appropriately adjust the aperture and shutter speed. Similarly, it will also optimize your camera to capture the bright colors in your image.
24. Never Rest on Your Laurels
It is always nice to capture a good image. However, you should never rest on your laurels irrespective of the type of photography. You must always look for better and should do better if you can. Unfortunately, most people content only with a good photo considering the time and effort required for landscape photography. They seldom wait for a better chance and never come back to better photos. However, this is what you need to do if you want to capture the best of the landscape images.
25. Practice, Practice, Practice
The more you practice, the better your landscape photos will get. It is as simple as that. You should capture as many landscape images as possible, especially when you are a novice and learning the tricks of the trade. For example, keep taking images just for the sake of taking images or getting a feel of your camera and things like shutter speed, aperture, and ISO.
You get a better idea of how your camera and manual exposure work by shooting more often. Furthermore, you understand how natural and artificial elements work together to offer you a stunning shot. Finally, your images will gradually improve and you will learn the basics of landscape photography rapidly.
Also Read: How to Shoot In Low Light: Best Tips and Guide
Frequently Asked Questions
How do I take good landscape photos with my camera?
To take good landscape photos with your camera, ensure you have a clear focus point and use a small aperture (high f-number) to keep most of the scene sharp. Utilize the rule of thirds for composition, and consider shooting during golden hours for soft, warm lighting.
How do you make landscape photography?
Making landscape photography involves understanding light and composition. Scout your location beforehand, use a tripod for stability, and employ filters like polarizers to enhance the sky and reduce reflections. Experiment with different perspectives and focal lengths to add depth.
How do I take landscape pictures with my phone?
To take landscape pictures with your phone, maximize its capabilities by ensuring good lighting and stability. Use the HDR mode to balance the light and shadows, and apply the rule of thirds for composition. Explore different angles and utilize panoramic mode for wider scenes.
How do you capture landscape shots?
Capturing landscape shots requires patience and planning. Use a tripod for sharp images, and shoot in RAW format for more post-processing flexibility. Pay attention to weather conditions and lighting, and try incorporating leading lines and natural features to guide the viewer through the image.
Top of Form
Final Thoughts
Now, you have learned how to take landscape photos, it is time to practically use all that knowledge. Landscape photography is popular among photographers for good reasons. For example, you have to spend a lot of time in the nature. Similarly, it is important to be patient because the right weather or lighting conditions can emerge at any time. However, the conditions will not be suitable for photography at all on other occasions.
You will develop great skills and capture breathtaking landscape photos with some practice and of course patience.

