
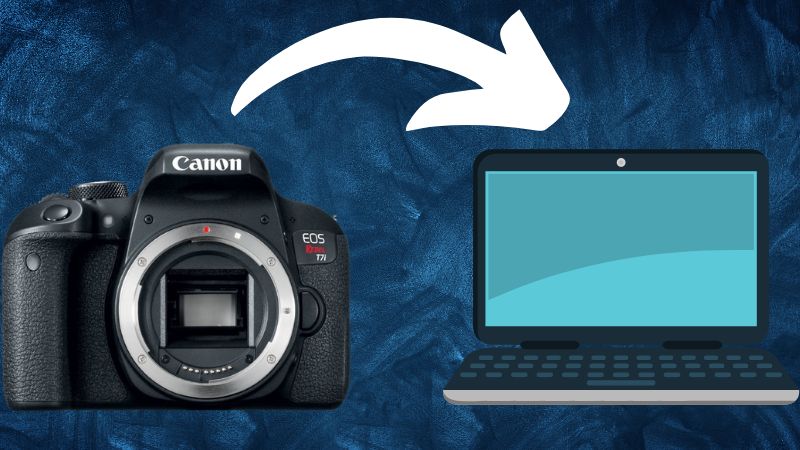
Transferring photographs from a digital camera to a computer is perhaps one of the easiest jobs in the world. You can choose from many methods such as transferring photos through a USB or Wi-Fi. Some people, especially new computer or camera users do find it difficult to accomplish this task. In this article, we will explain how to transfer photos from camera to computer using all these methods. �
Method 1: Connect the Camera to the Computer Directly
You can directly connect the camera to the computer using a USB cable. Most digital cameras nowadays come with USB ports and transferring photos using this option is also quite easy. All you have to do is connect the mini-plug end of the cable to the camera and the flat-end plug to the computer and that’s it.
Locate the DCIM Folder of the Camera on your Computer
Once you connect the camera to the computer, it will work as a new drive with a DCIM folder. Open that folder and its subfolders to locate your images. Simply copy or cut the images and paste them into your desired location. This method allows you to transfer photos from camera to computer instantly.
Method 2: Use the Camera’s Memory Card to Transfer Photographs
Some digital cameras save the photographs on a memory card. You can insert this memory card into the card slot reader of your computer to access your images. The latest computers are compatible with almost all kinds of cards. Apart from the camera’s memory card, you can also use an external card reader if you have one. Photo transfer through a memory card is much faster than using a USB connection. Similarly, you no longer need to keep your camera on, preserving its battery.
The process of transferring pictures from the memory card to the computer is the same as explained in method 1.
Method 3: Transfer Photos from Camera to Computer Wirelessly
What if you don’t have a USB cable as well as a memory card but you need to edit photos urgently? In this case, you can transfer images using a Wi-Fi connection. Most cameras nowadays have Wi-Fi capability, making it a breeze for you to connect them to your computer or other devices such as laptops, tablets, and smartphones provided they also have Wi-Fi too.
You can find out whether or not your camera has Wi-Fi by a quick Google search about its model, branch, and features. The camera’s user manual would also provide detailed instructions on how to use Wi-Fi if it is available.
Some cameras also require you to install an app to establish a connection through Wi-Fi while others transfer data directly.
Method 4: Import Pictures from Camera using a Photo App
You can also import your pictures from the camera to the computer and organize them using a photo app such as Google Photos. You have to download the software from Google but it will save you a lot of time and trouble when it comes to transferring and organizing photos.
How to Import Photos from Camera to Computer using Google Photos
Step 1: First of all, insert the camera’s memory card into your computer’s memory card slot. You can also directly connect the camera to the computer using a USB cable.
Step 2: You will find the Import Button on the main toolbar of the app. Open up an import tab by clicking on the Import Button.
The import tab has a dropdown box, showing you all the options from where you can import the images. Select the mounted drive or your camera from that dropdown box.
Step 3: Now, it is time to select all the photos you want to import to your computer. Or, you can just leave the selection blank if you want to import all the photos.
Step 4: You can choose the location where you want to import the images from the bottom of the Import tab. Picasa would automatically create subfolders for you depending on the dates on which you took the photos. However, you can create your own subfolders as well. Similarly, you can also share images on the Picasa web album besides deleting the photos from the memory card.
Now transfer the photos to your computer by clicking either Import All or Import Selected button.
You would love using Picasa as well because of its amazing photo organizing and editing tools.
Also Read: How To Flip Camera On Zoom? A Detailed Guide
Frequently Asked Questions
What is the best way to transfer photos from camera to PC?
The best way to transfer photos from a camera to a PC is by using a USB cable that connects your camera to the computer. Once connected, you can use your computer’s file management system to copy the files from your camera or memory card to your desired location on the PC.
How do I transfer pictures from my camera card to my computer?
To transfer pictures from your camera card to your computer, use a card reader. Insert your camera’s memory card into the card reader, then plug the reader into your computer’s USB port. Your computer should recognize the card as a removable storage device, allowing you to drag and drop the pictures.
How do I transfer photos from my Canon camera to my laptop?
To transfer photos from a Canon camera to your laptop, use the USB cable provided with your camera, or connect via Wi-Fi if your camera supports it. For USB, connect the camera to your laptop and use Canon’s software or your operating system’s file manager to transfer files. For Wi-Fi, use Canon’s Camera Connect app or similar software.
How do I transfer photos from my camera to my computer without cable?
To transfer photos from your camera to your computer without a cable, you can use a wireless method if your camera supports Wi-Fi or Bluetooth. Alternatively, remove the memory card from the camera and insert it into your computer’s card reader slot or an external card reader to access and transfer your photos.
Final Thoughts
It is easier than you can imagine to transfer pictures from camera to computer. You just need to have the right tools such as a USB cable and an SD card and full knowledge of how they work. Our guide will also enable you to transfer images from the camera to computer without any hassle.